How to set up the registration form for your event?
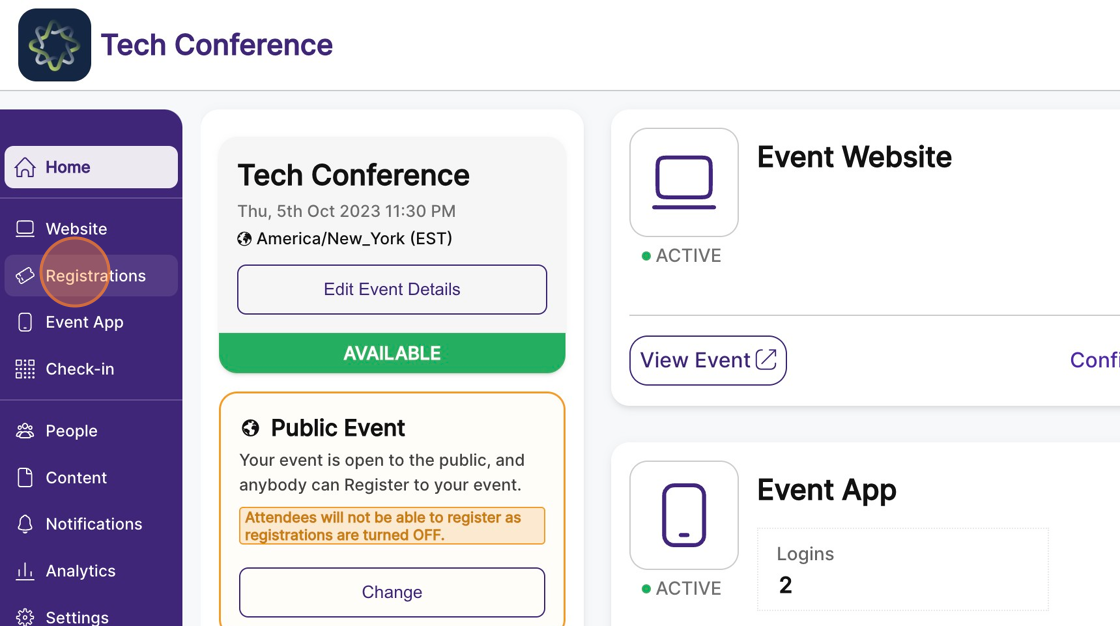
1. In the event dashboard, click on "Registrations".
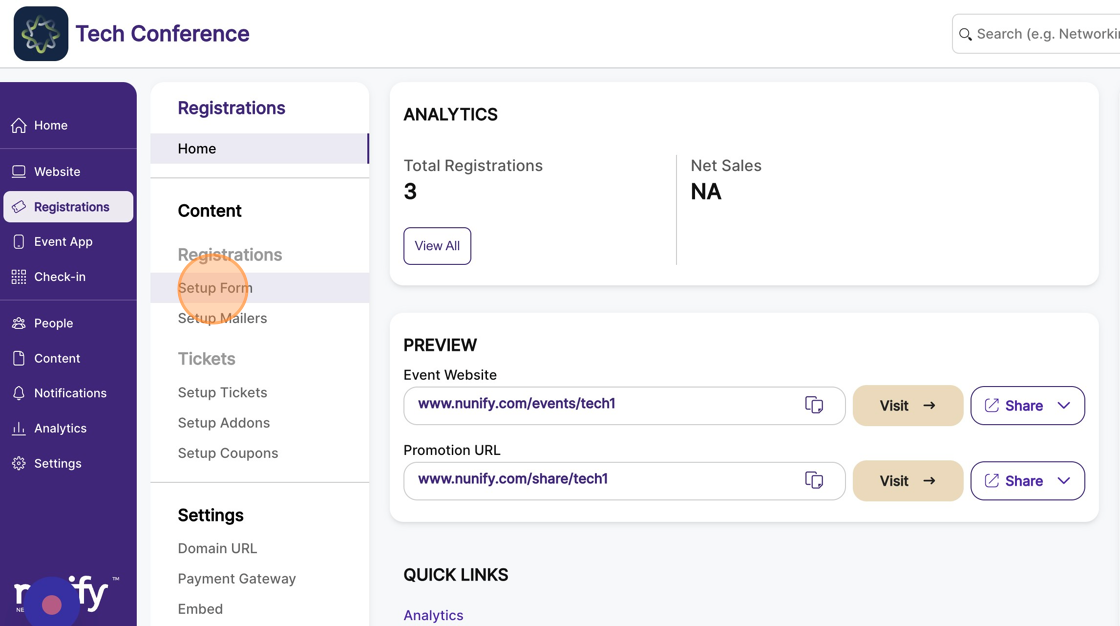
2. From the sidebar, select “Setup Form”.
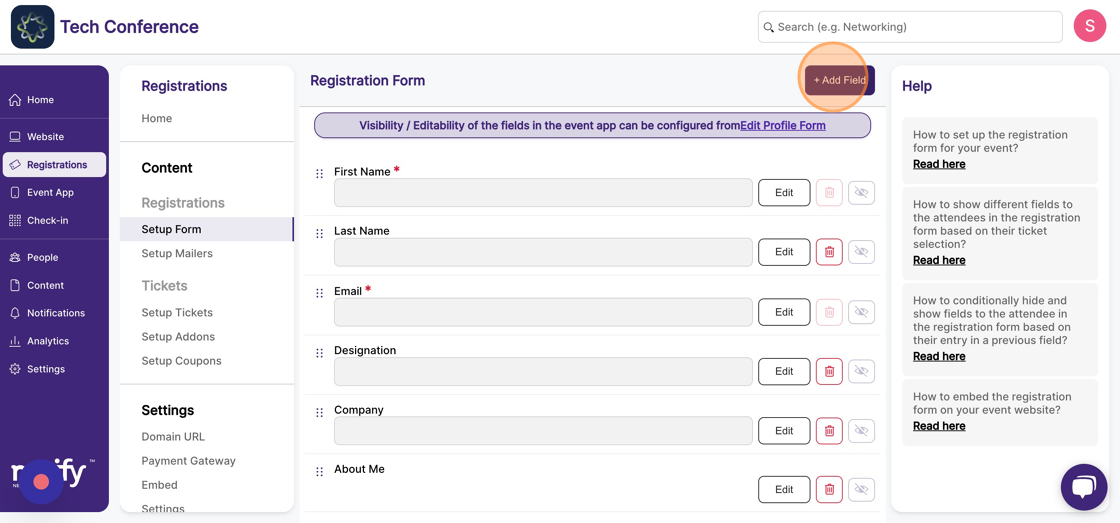
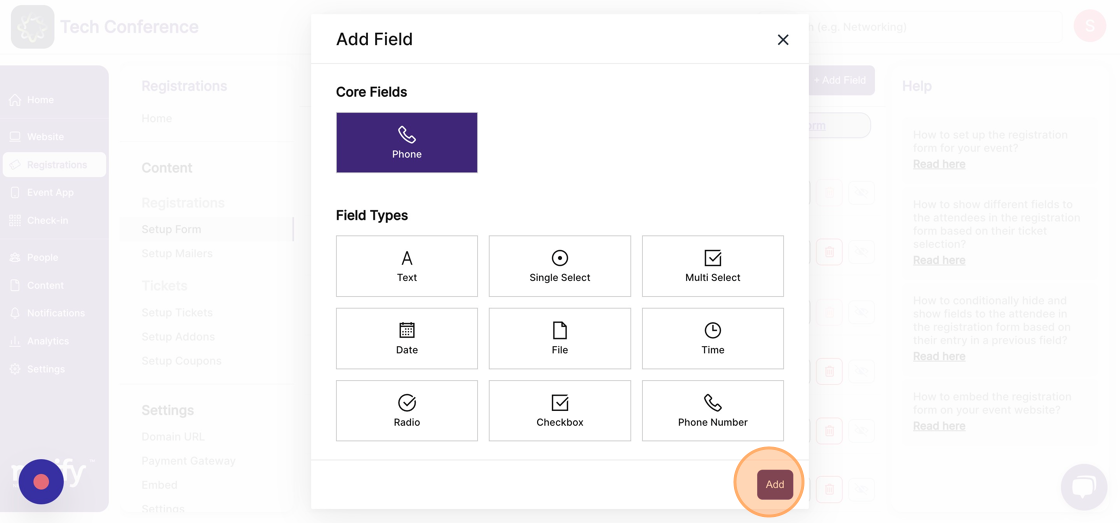
3. Click "Add Field"
4. After clicking the "Add Field" button, a modal opens, displaying the field types which you can add to the registration form.
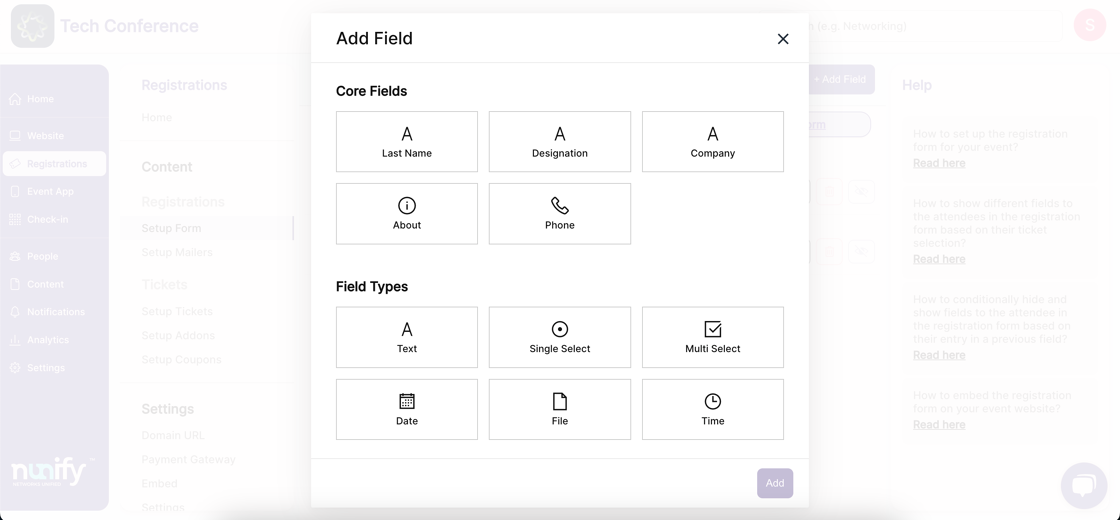
5. Core Fields – These are built-in fields that you can choose to add to the form
6. Field Types – If you want to capture more information, you can select one of the field types in this section that is appropriate for the type of information you want to capture.
7. Once you have selected a Field, click the “Add” button to proceed to the next step.
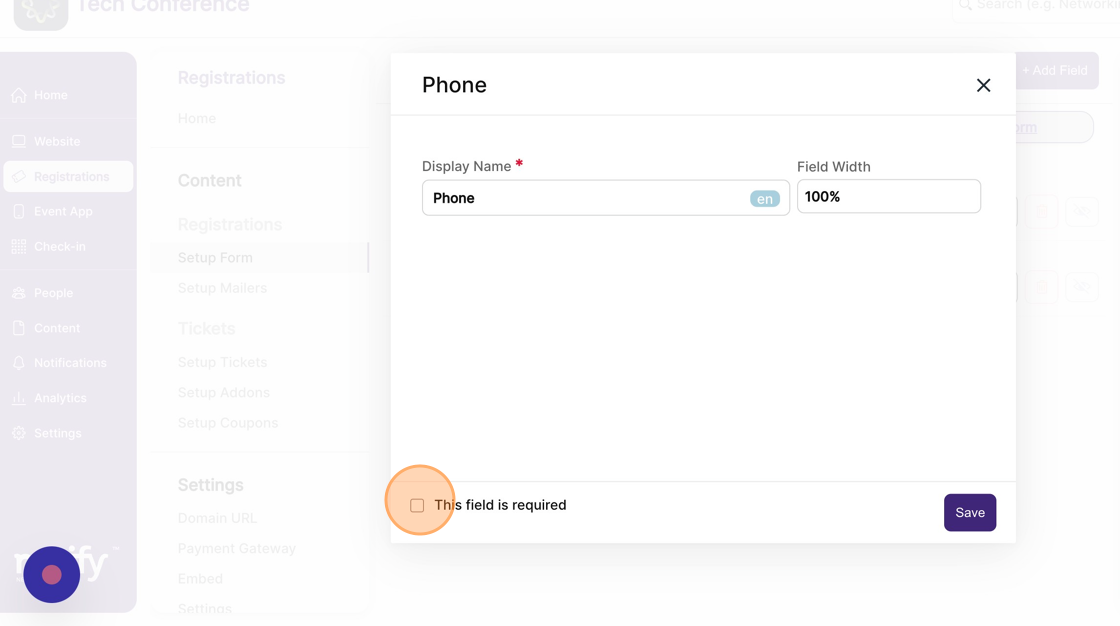
8. This opens a new form where you can set the field name & width. Width is applicable only in the web version of the form and is used to set up two-column layouts. Once the necessary changes are done, click on "Save".
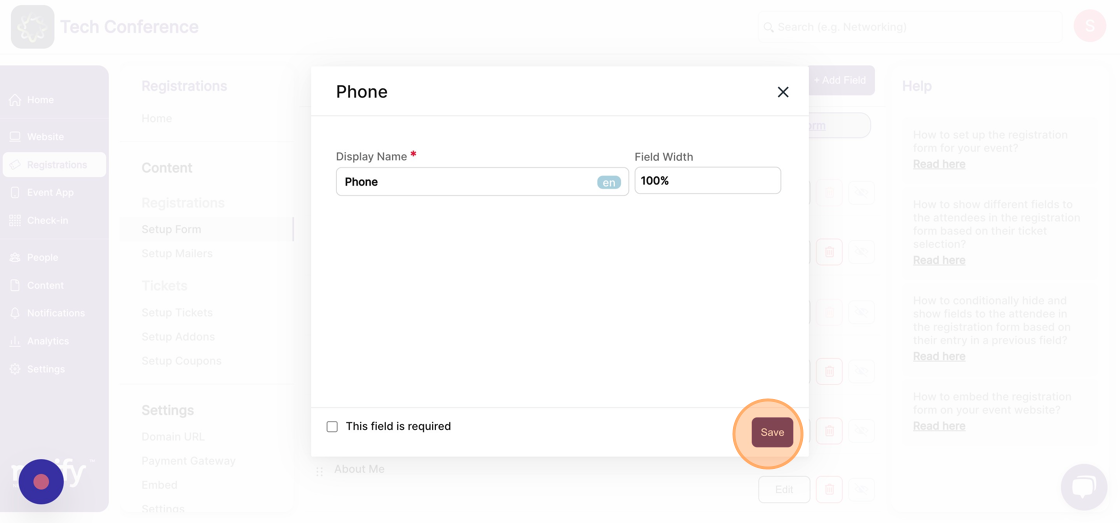
9. You can make the field mandatory for your attendees to fill by selecting the “This field is required” checkbox on the bottom left of the form.
10. You will be required to add additional information based on the selected field type, like a set of options available for selecting a single-select field type.
11. Click on Save to add the field to the registration form.
12. You can re-order the fields by dragging and dropping them to the appropriate position in the list.