How to configure the registration confirmation mailer, which is sent automatically when an attendee registers?
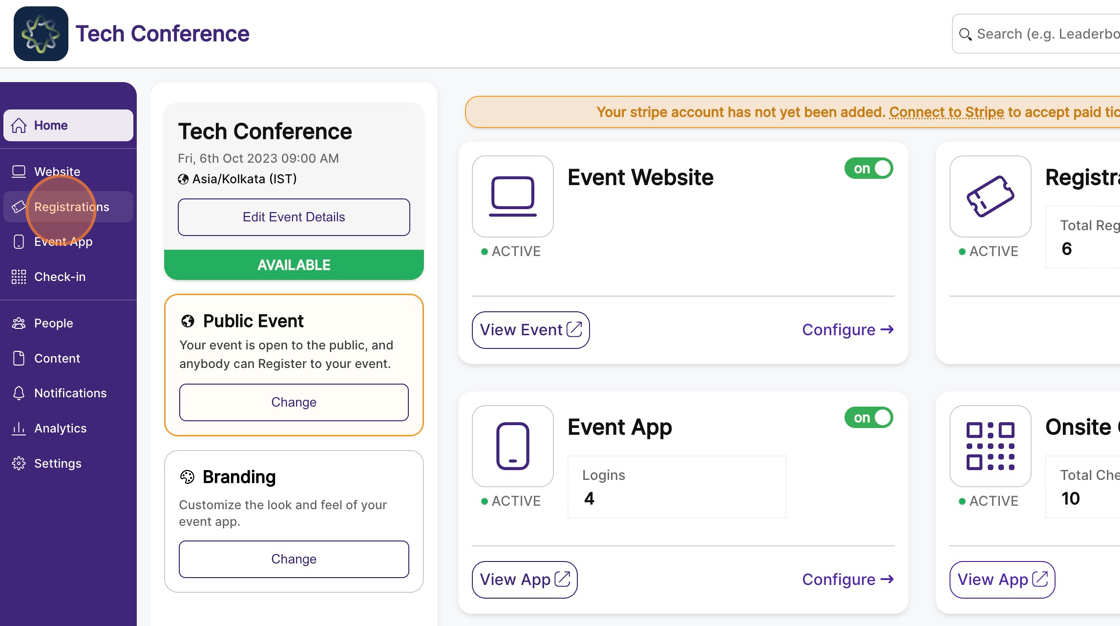
1. In the event dashboard click on "Registrations" from the side bar.
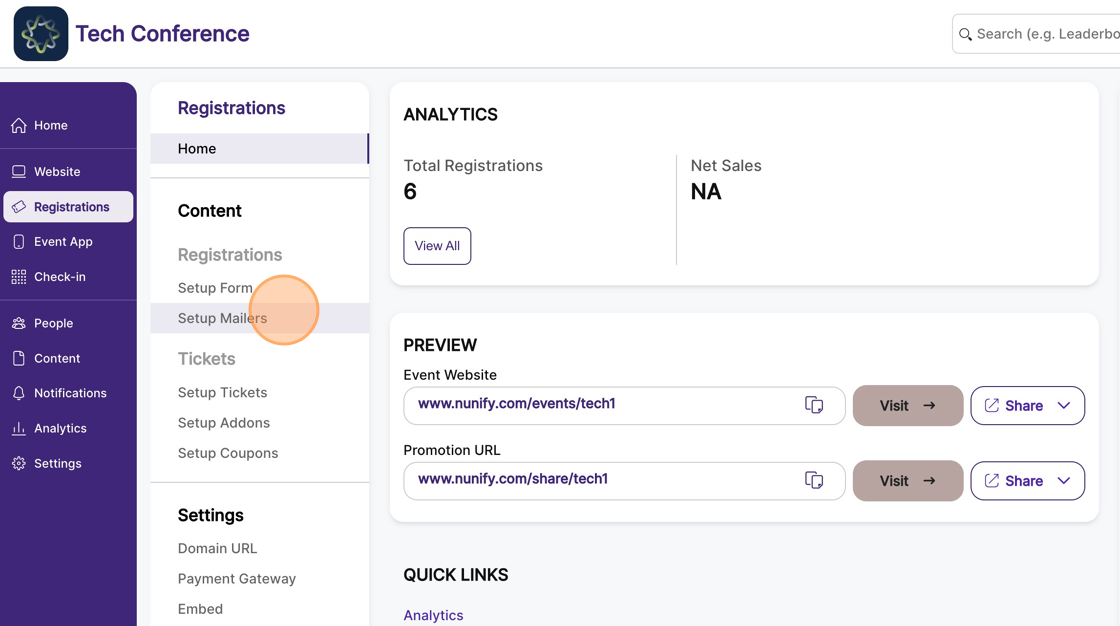
2. From the left-hand side menu, select “Setup Mailer” under Registrations
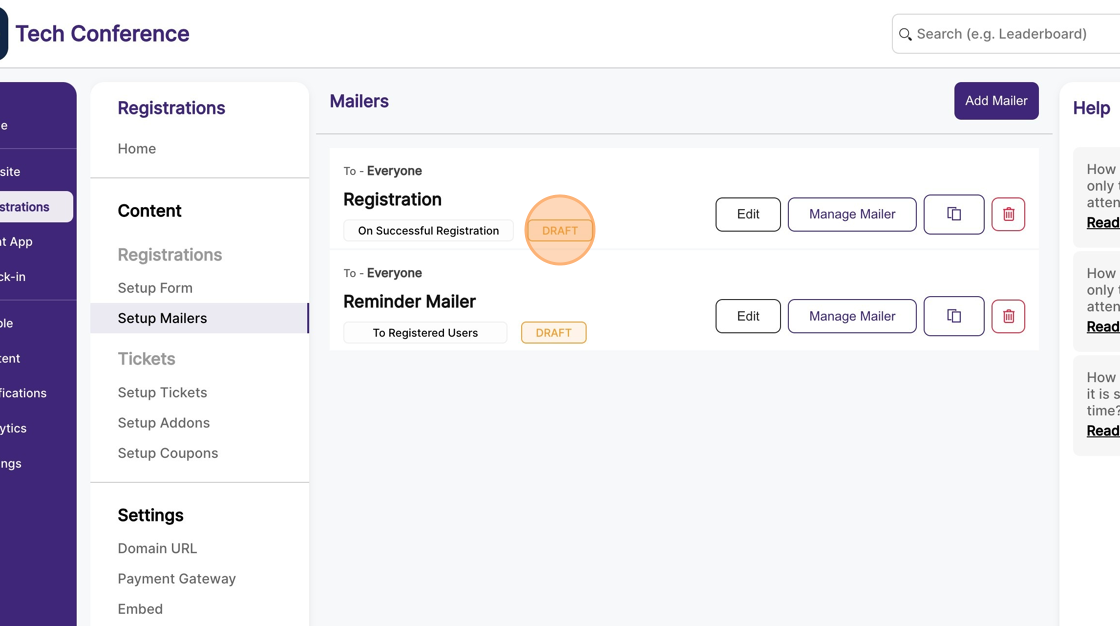
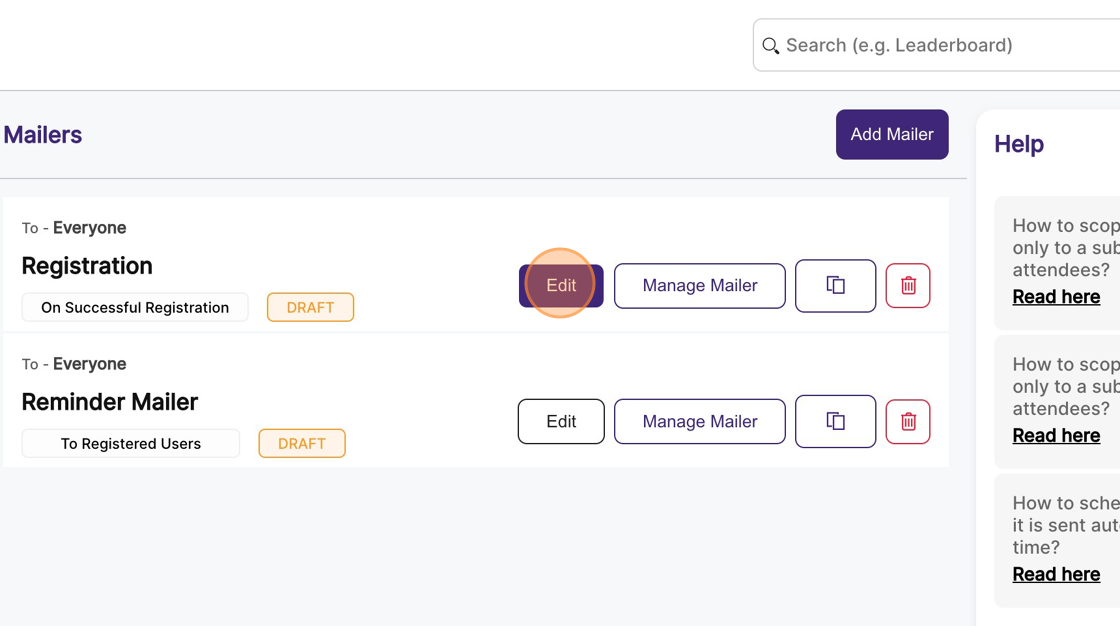
3. By default, you’ll see two mailers. We are interested in the one titled “Registration,” which is sent “on successful registration.”
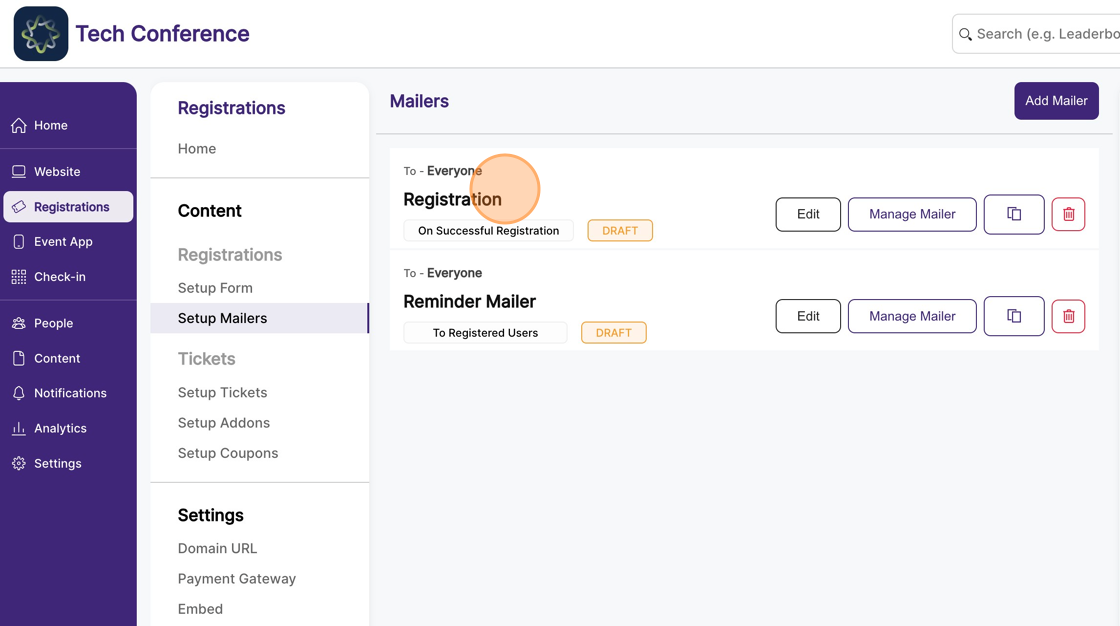
4. You’ll also notice that it is in the “Draft” state, which means this email will not be sent when an attendee registers.
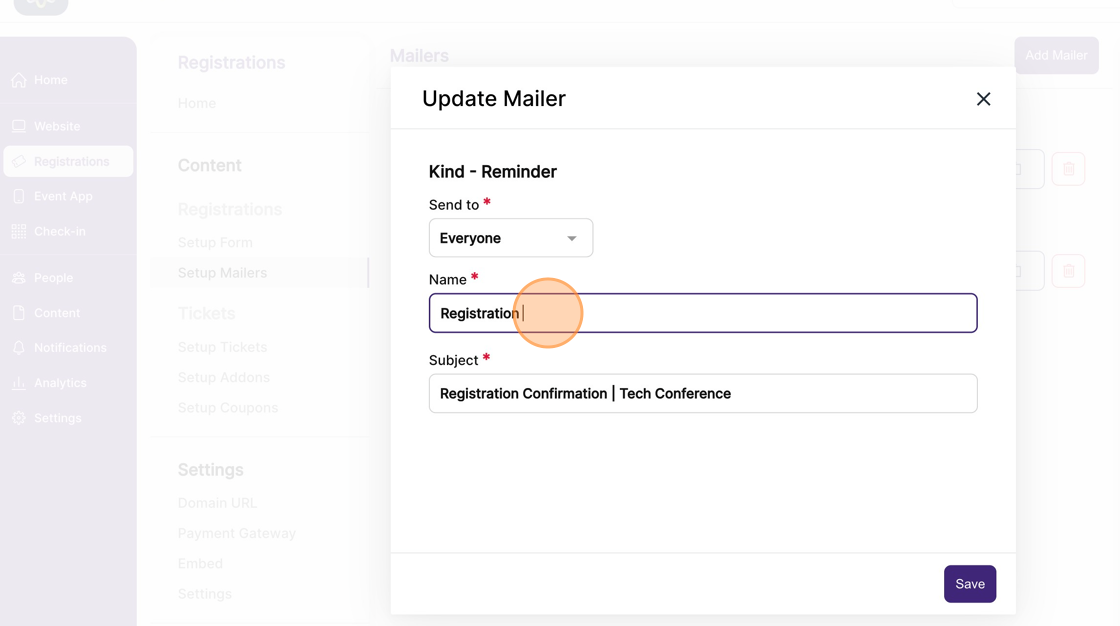
5. You can change the name & subject of the mailer by clicking the edit button on the card.
6. Make the necessary changes, and click on save.
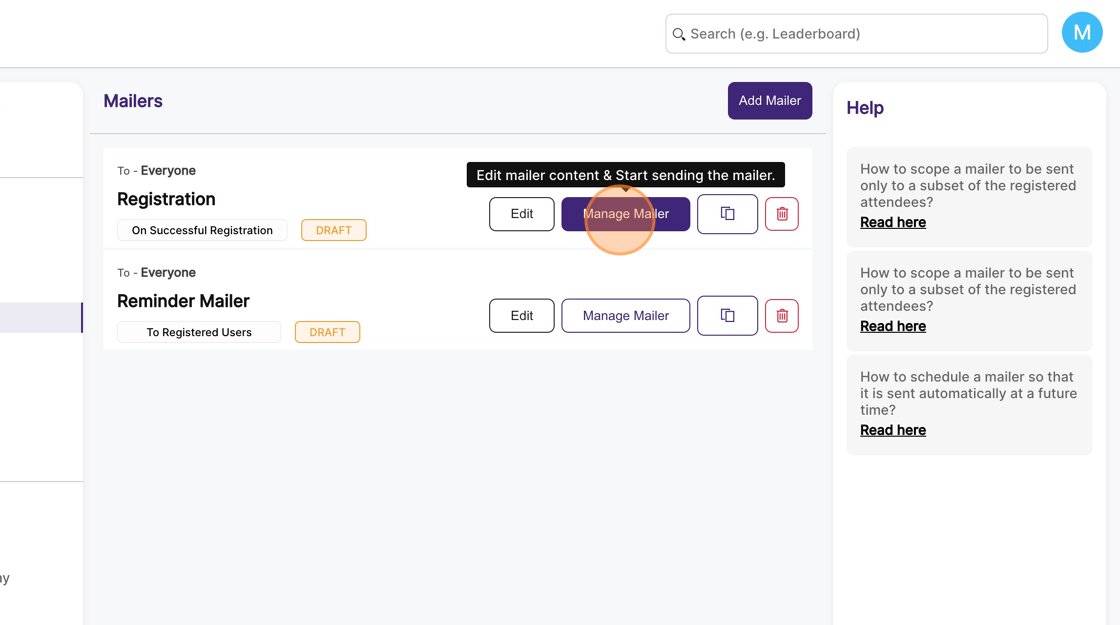
7. You can change the mailer’s content by clicking on the manage mailer button, which opens up Nunify’s visual email builder.
8. You can use the following mail-merge tags in the email text, which will be replaced by users or ticket-specific values while sending. While placing mail-merge tags, they need to be placed between ||* & *||.
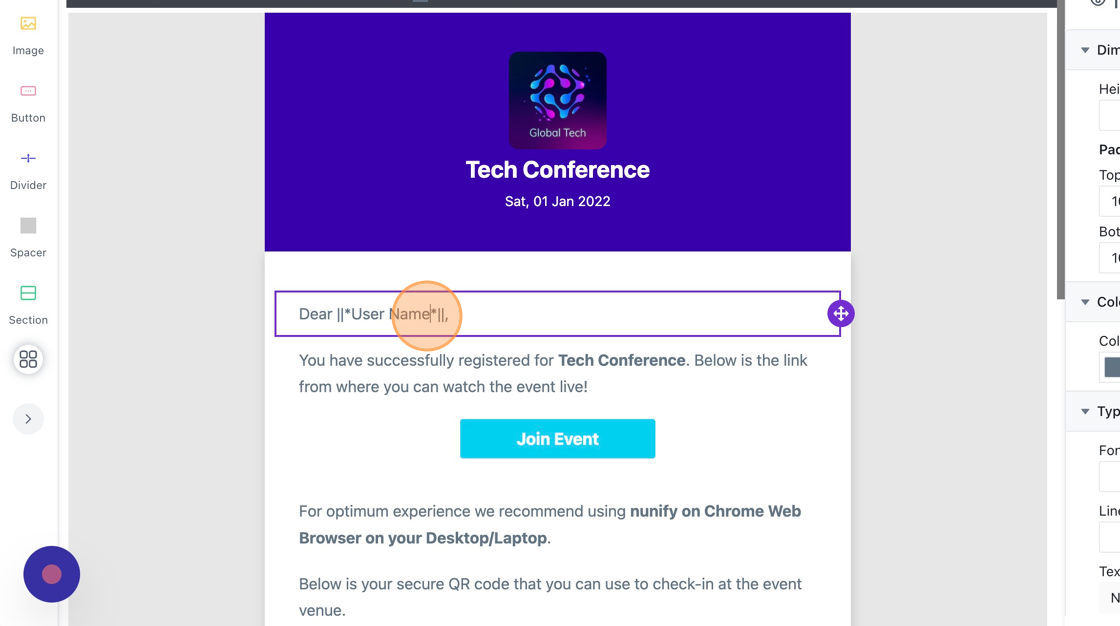
Tip: For example: ||*Event Name*||
a. Event Name
b. Event Date
c. User Name
d. First Name
e. User QR Code
f. Start Date
g. Start Time
h. End Date
i. End Time
j. Venue Name
k. Venue Link
l. Venue Address
m. IOS App Link
n. Android App Link
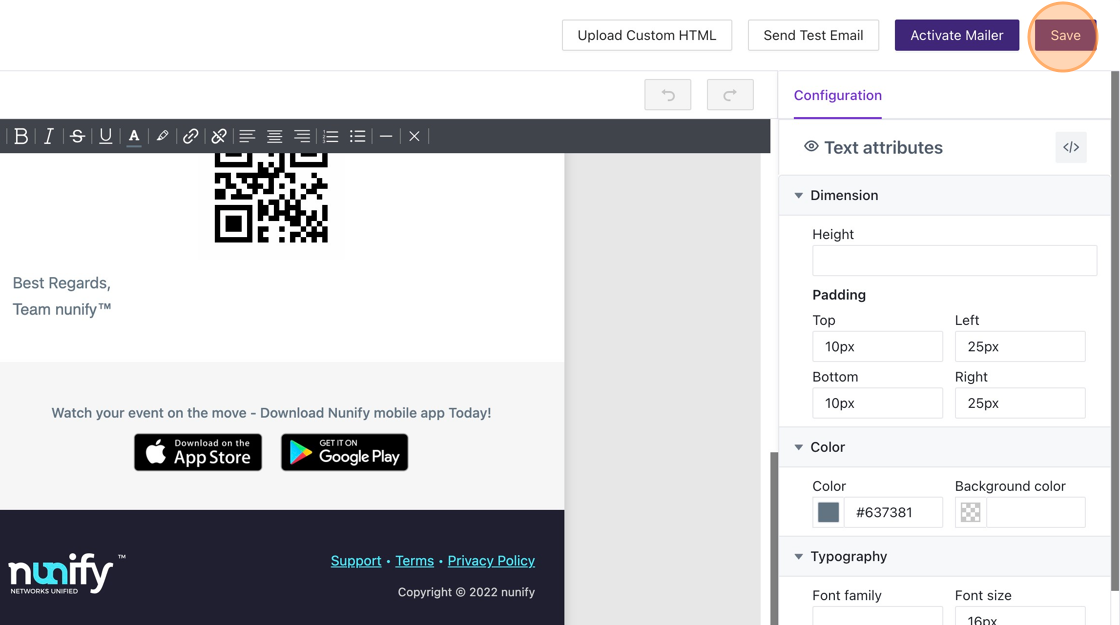
9. Once you have customized the mailer content, click "Save" on the top right corner to persist the changes.
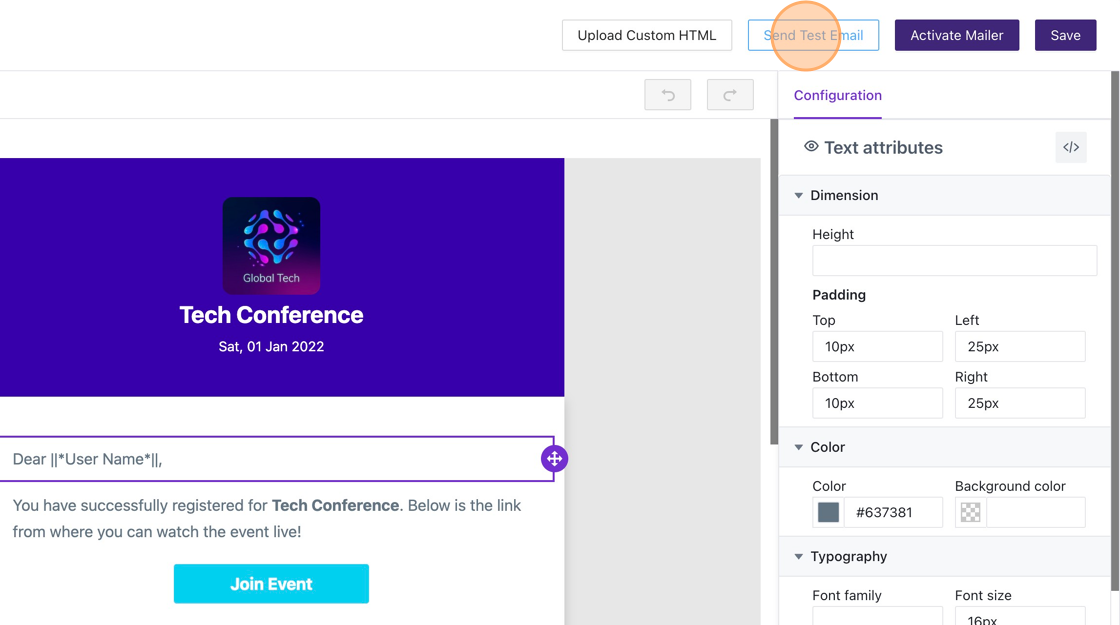
10. You can send a test mailer by clicking the “send test email” button and selecting a user.
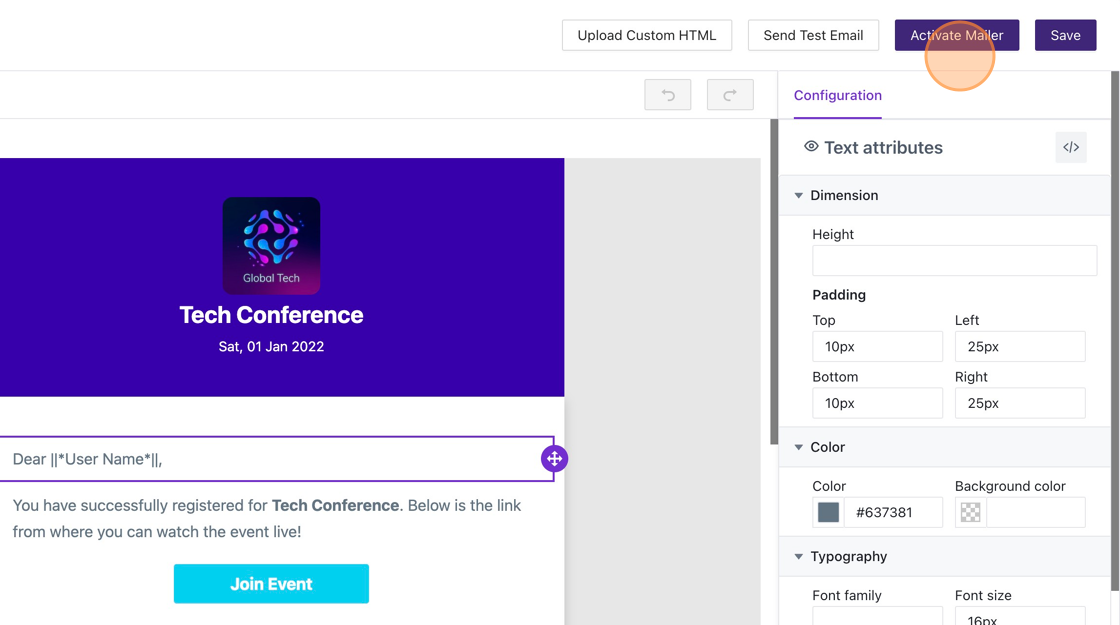
11. Once you’re happy with the mailer, you can click on the “Activate Mailer”, which will move the mailer to the “Active” state from “Draft”.
Tip: Now, whenever an attendee registers, they will automatically receive this email.
Alert: Please note, once a mailer is activated it cannot be edited or deleted.