How to schedule a mailer so that it is sent automatically at a future time?
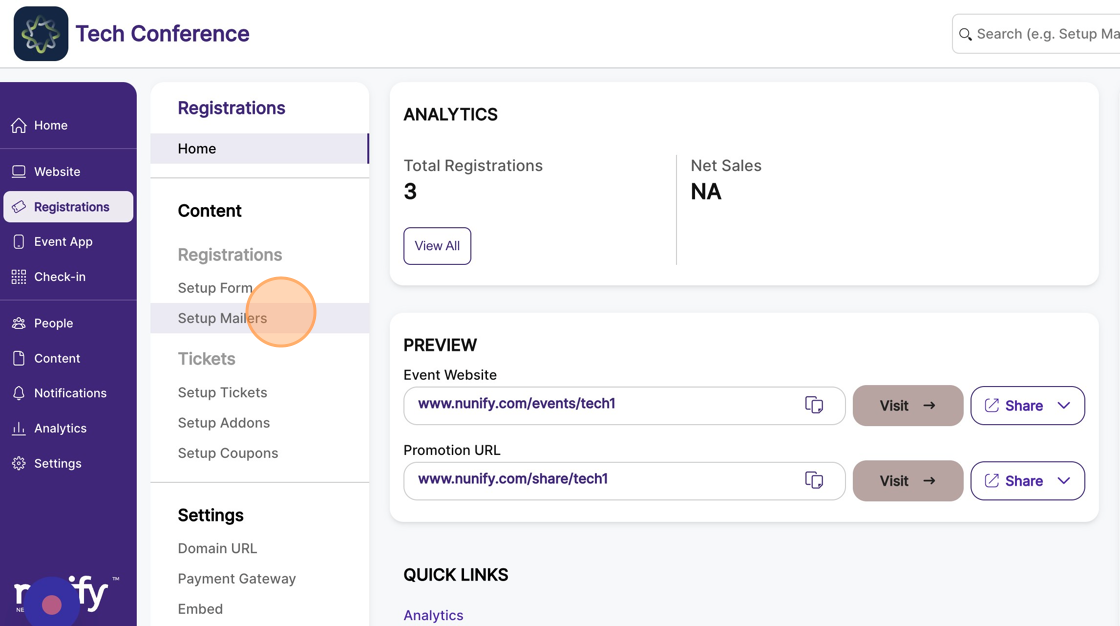
1. In the event dashboard, click on Registrations.

2. Click "Setup Mailers" from the Sidebar.
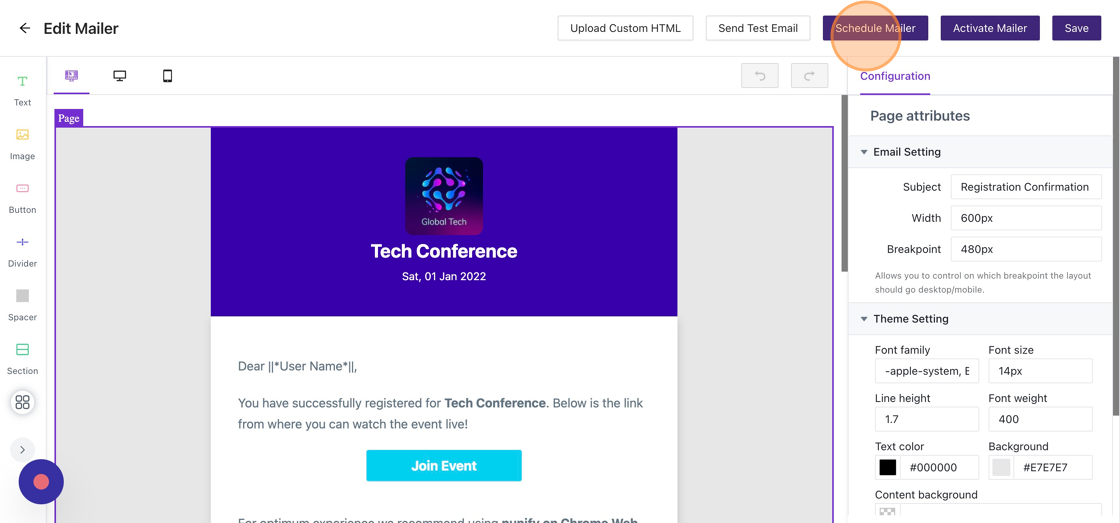
3. To schedule a mailer, click the “manage mailer” button to open the email builder page.

4. Click "Schedule Mailer"
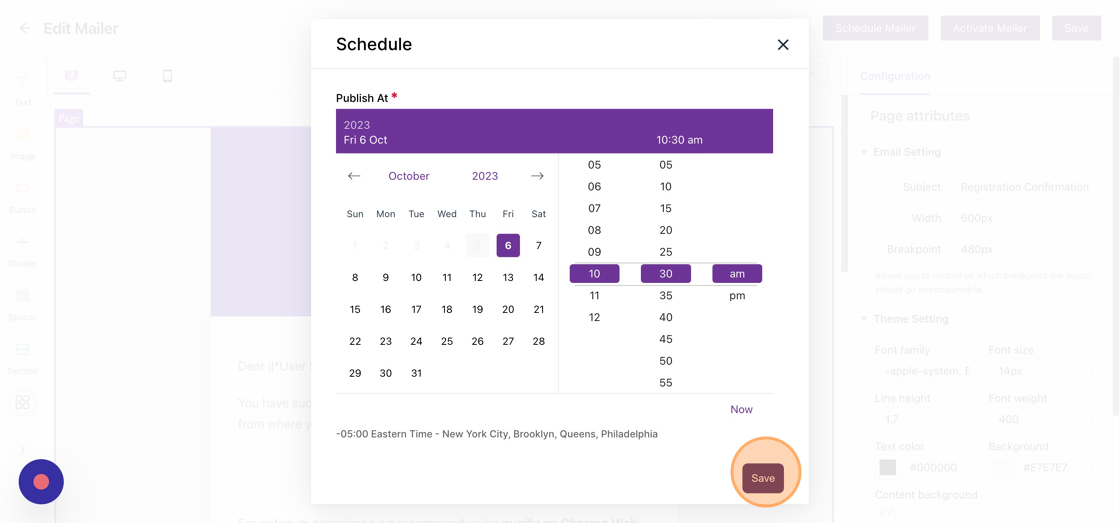
5. By clicking on the “Schedule mailer” button on the top right it will open a modal where you can select a future date and time when this mailer should be sent.
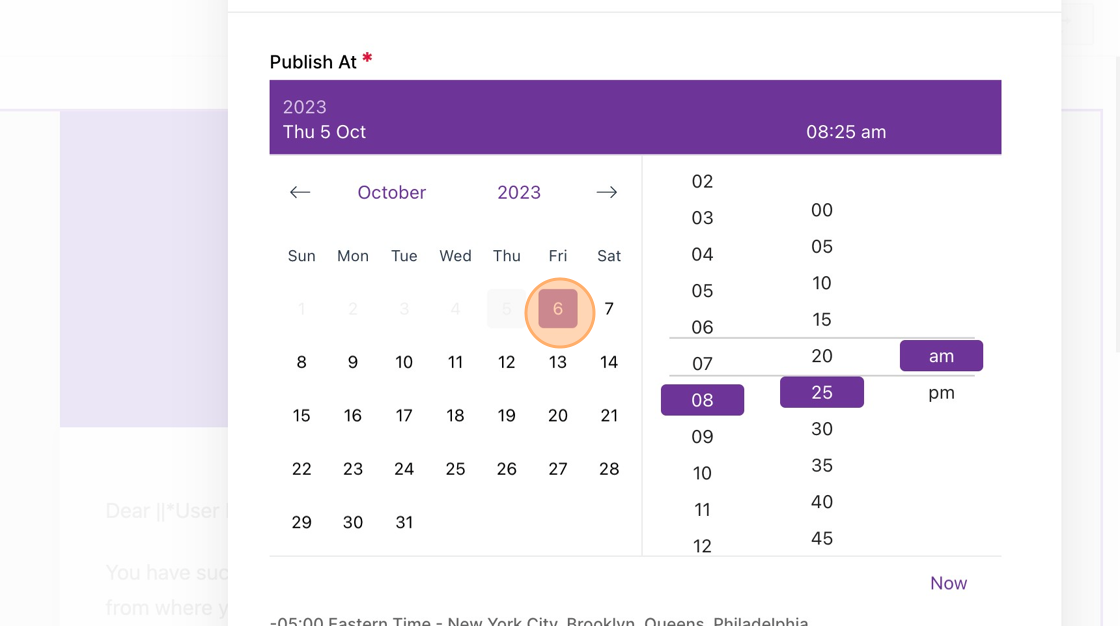
6. Once you have selected the date and time, click save.
Note: This will schedule the mailer to the selected date and time and move the mailer status from “draft” to “scheduled”.
7. The scheduled mailer will automatically be activated at the scheduled time, and its status will move from “scheduled” to “active”.