How to create a group?
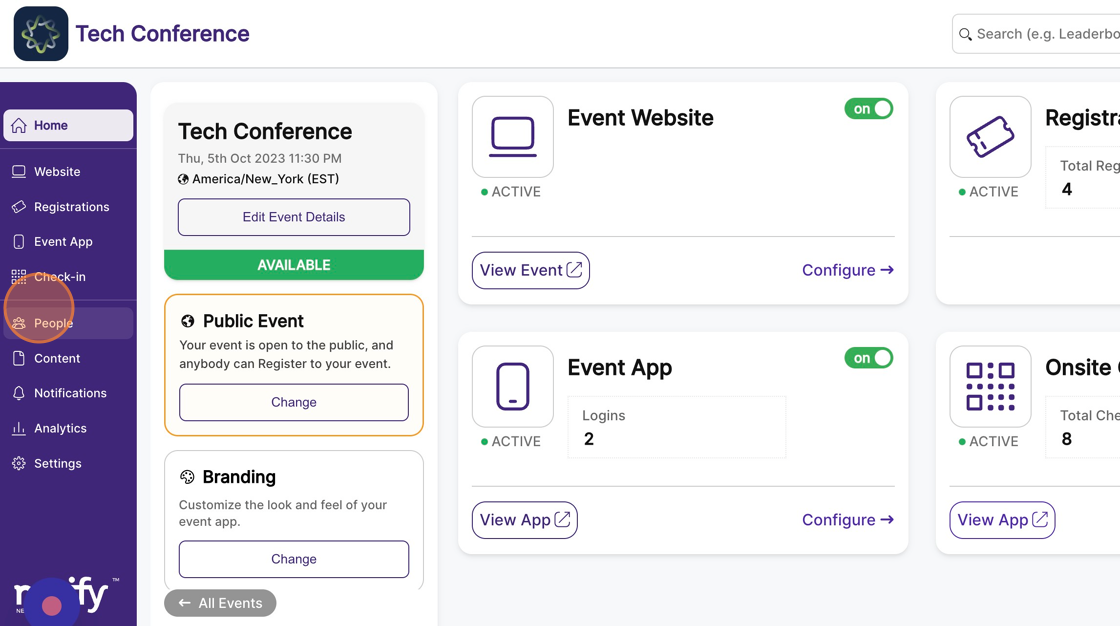
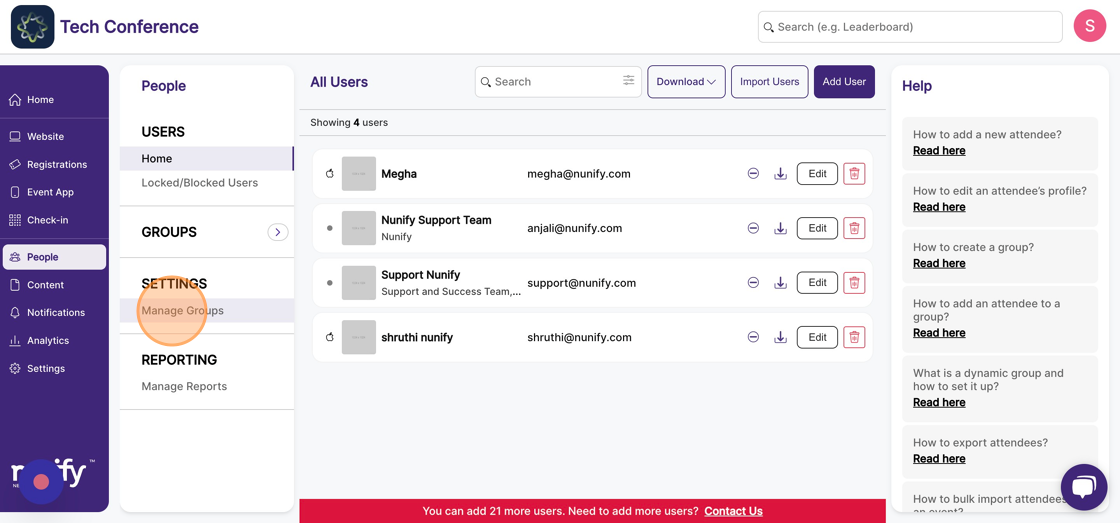
1. In the event dashboard, click on the "people" section from the Sidebar. This brings up the list of all attendees.
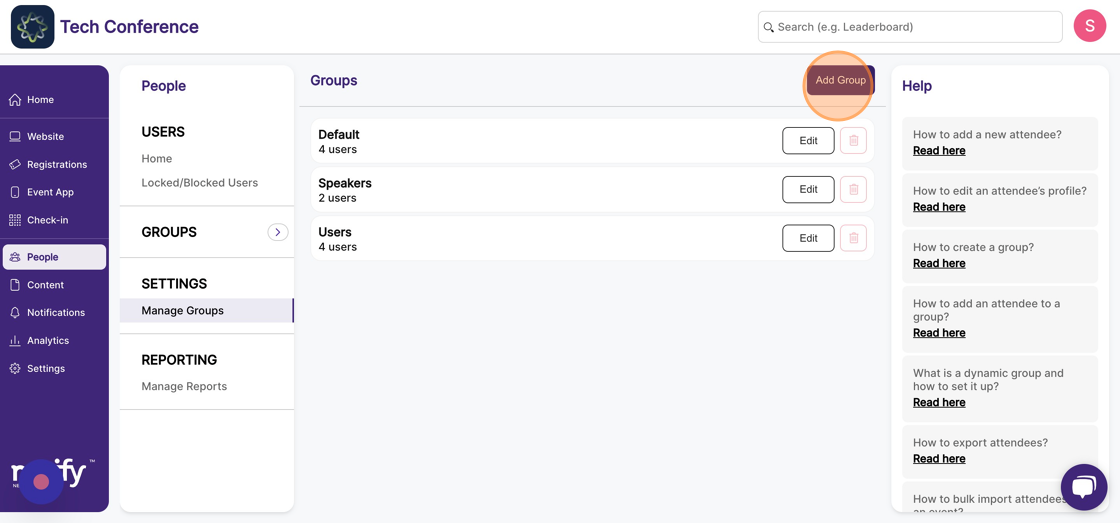
2. In the left-hand side menu, click on "Manage Groups" under the settings section. This will bring up the list of all groups currently present for the event.
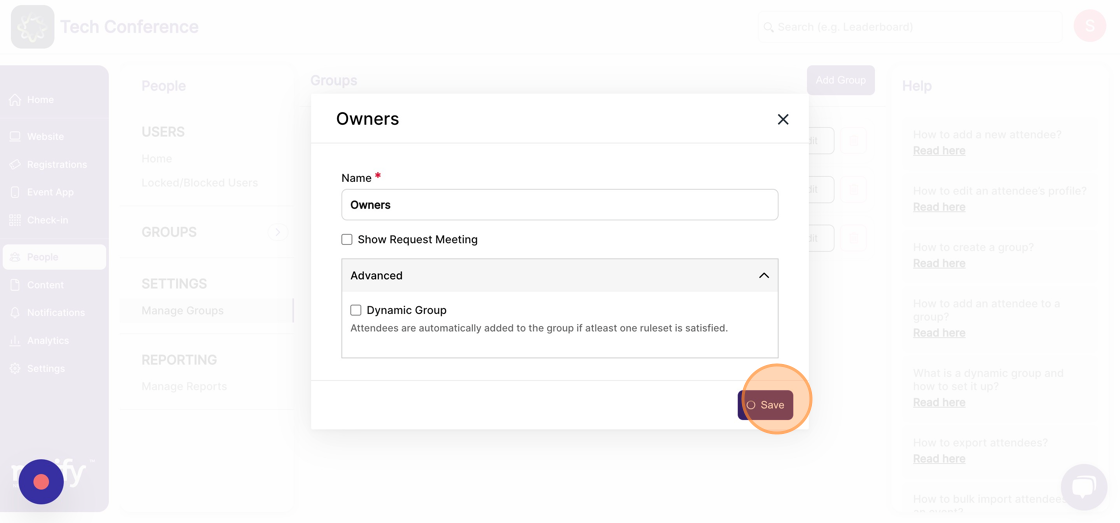
3. Click the ‘Add group’ button. This will bring up a modal with a form to create a new group.
4. Put in the group name, which is mandatory.
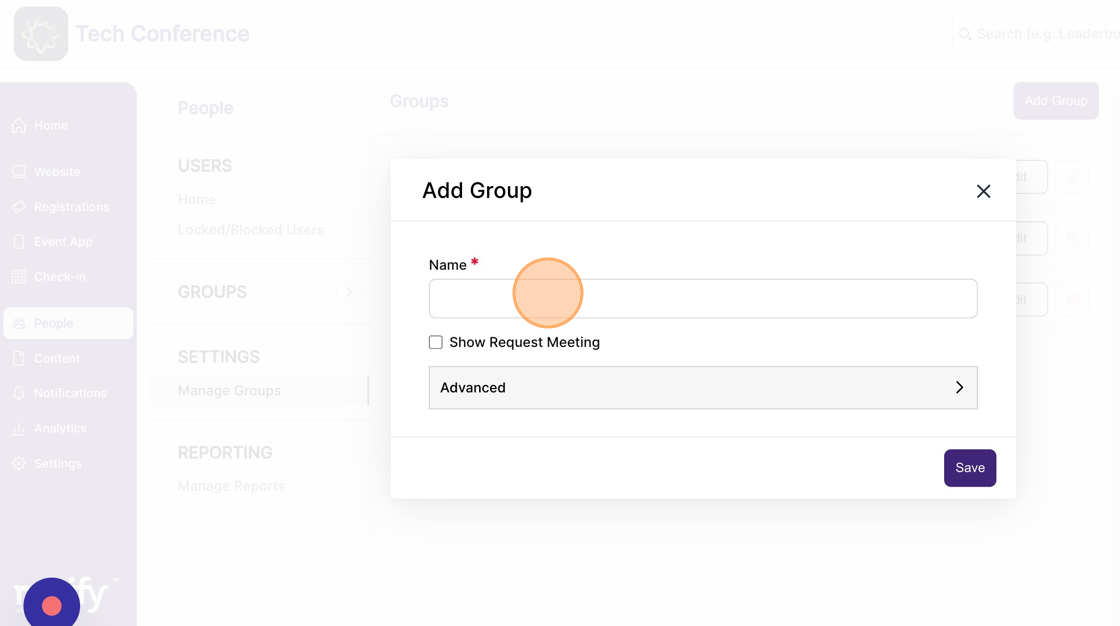
5. Once you’ve filled up the form, click save to create the group. Once saved, the modal will close, and the list of groups will include the newly added group.