How to add an attendee to a group?
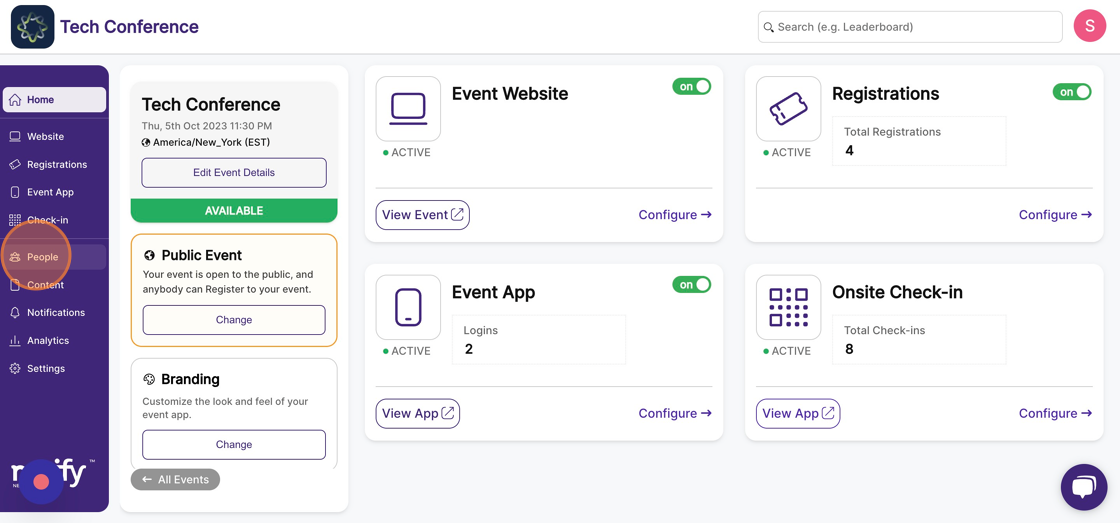
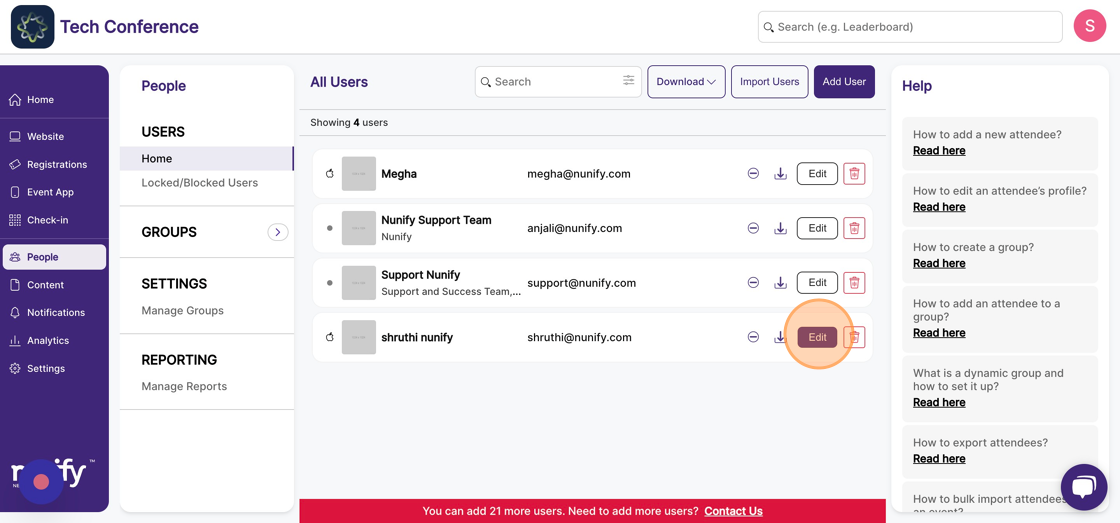
1. In the event dashboard, click on the "people" in the top bar. This brings up the list of all attendees.
2. Find the attendee you want to edit by using the search box. The search box can be used to search by both name and email address.
3. Once you’ve found the attendee you want to edit, click on the attendee card to open up the attendee profile form.
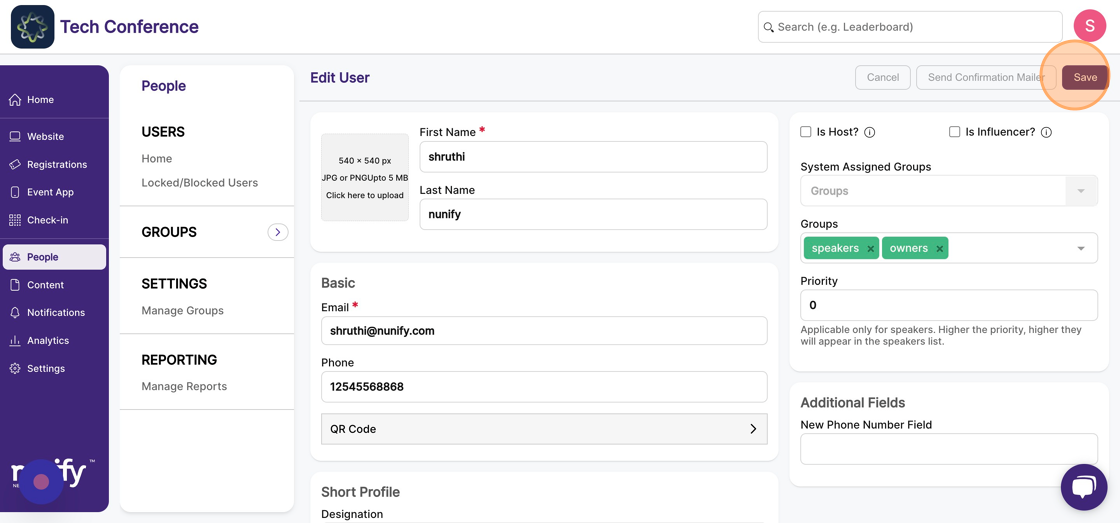
4. Select the groups you want this attendee to be a part of from the “groups” dropdown on the right-hand side.
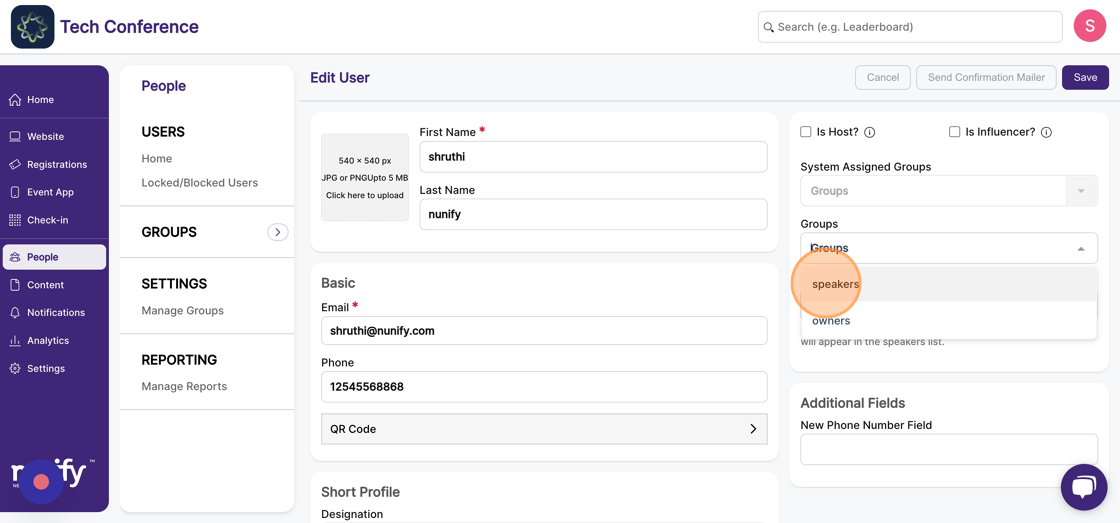
5. More than one group can be added to an attendee's profile from the dropdown.
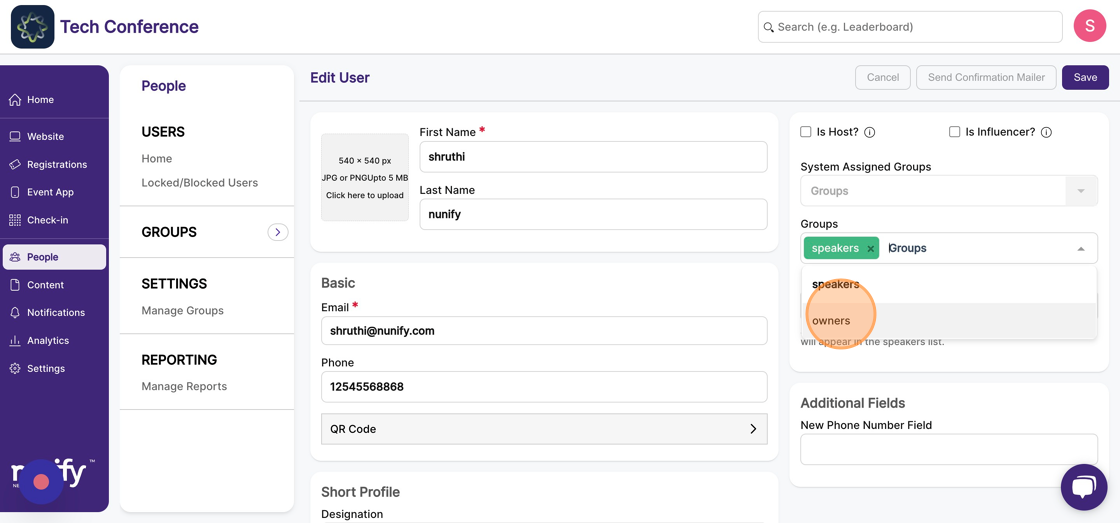
6. Click save to persist the changes. Once saved, you’ll be taken back to the screen with the list of all attendees.