How to schedule a notification to be sent automatically at a later time?
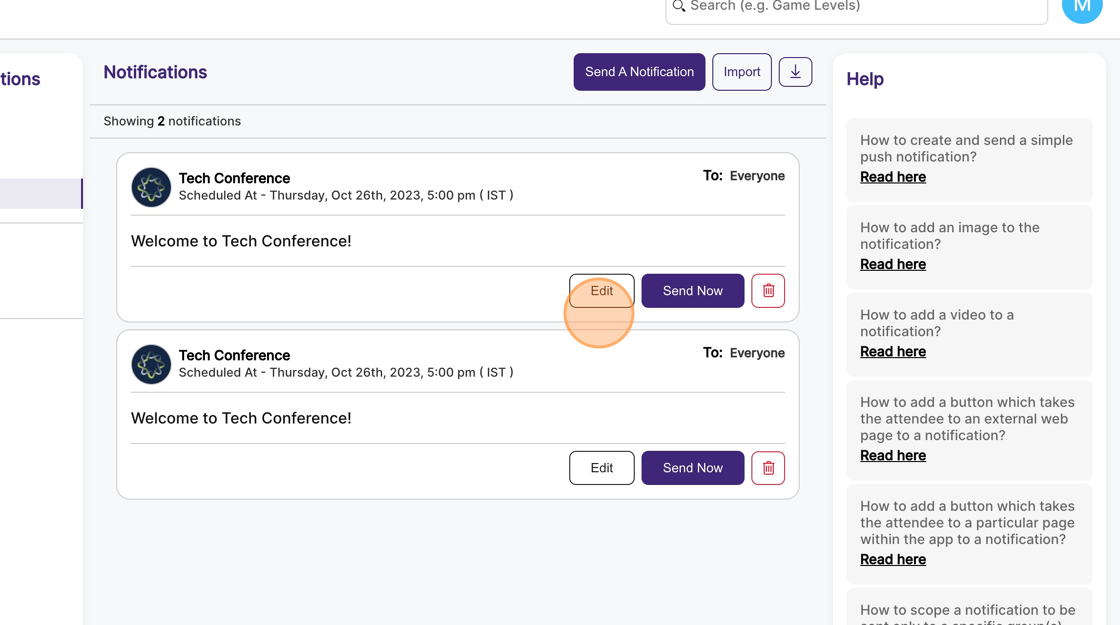
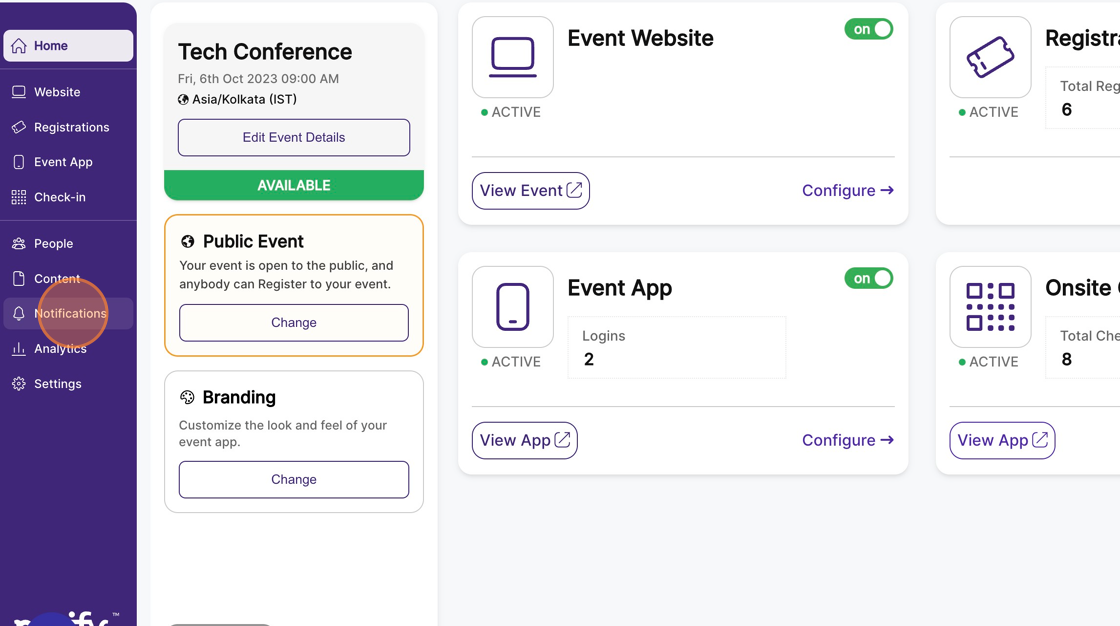
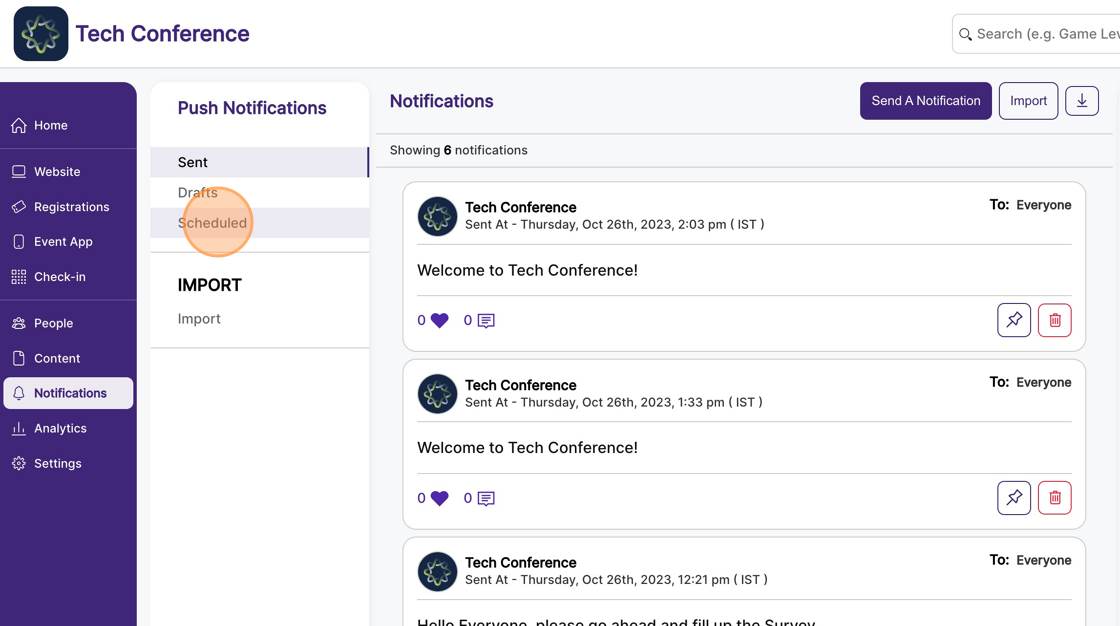
1. In the event dashboard, click on the Notifications from the side bar. This brings up the list of all sent push notifications.
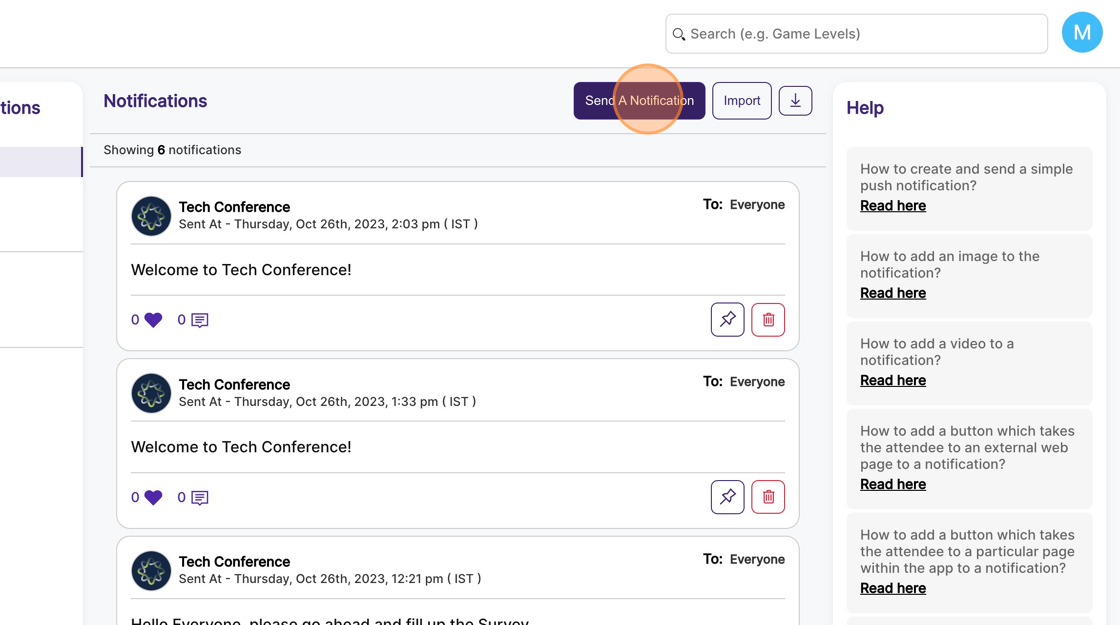
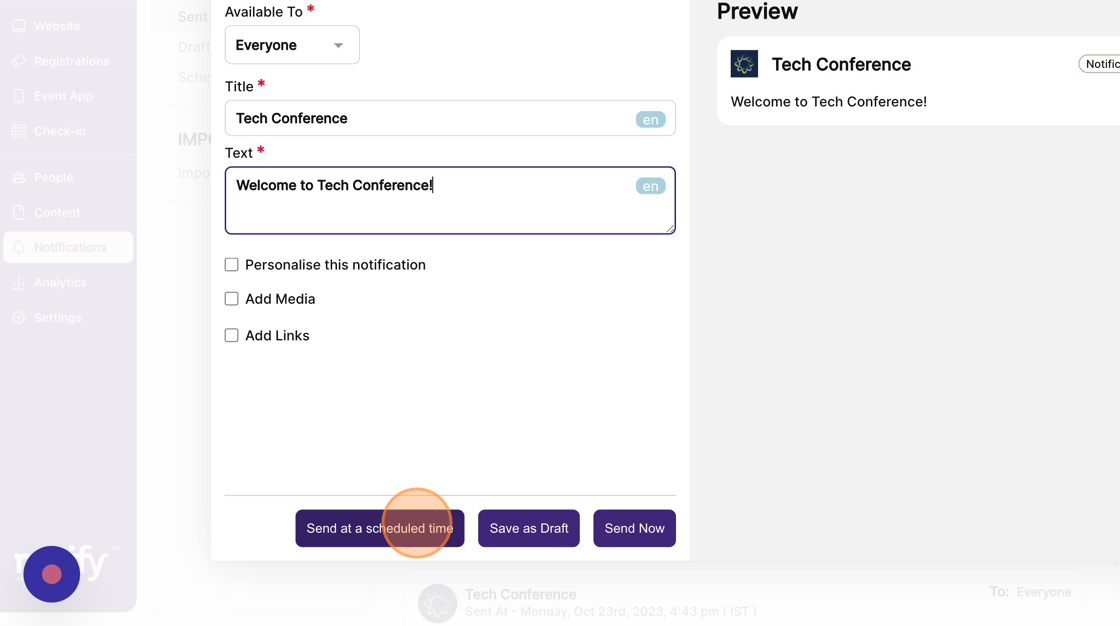
2. Click on the “Send a notification” button. This opens a modal with the new send notification form.
3. The Title and Text are mandatory fields and need to be filled up.
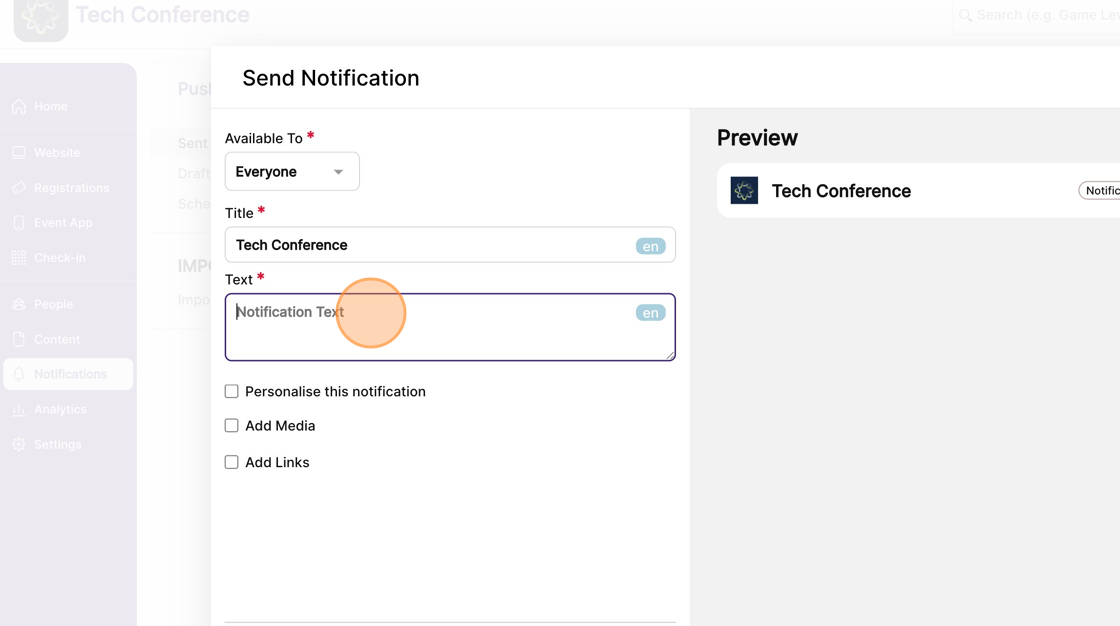
4. You can preview the notification on the right-hand side panel.
Once you’ve filled up the form, click “Send at a scheduled time” to open a schedule modal.
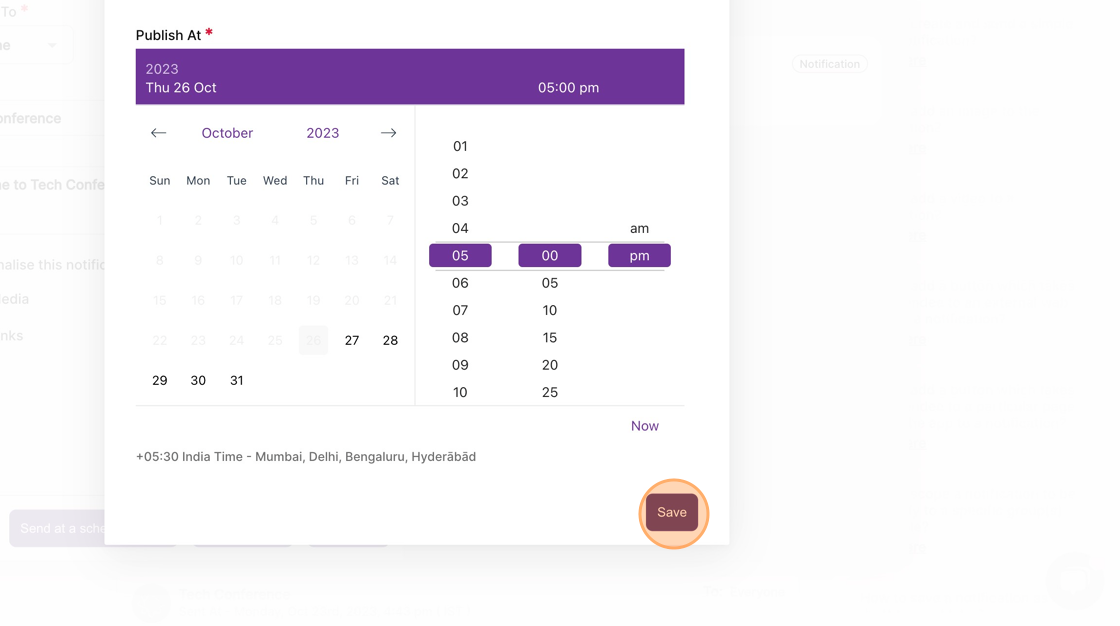
5. In the schedule modal, select the date and time when this notification should be sent.
Click the save button. Once saved, the notification will be automatically sent at the scheduled time.
6. On the left-hand side menu, click “Scheduled” to see all scheduled notifications.
7. You can “edit” the scheduled notification to change the content, re-schedule it at a different time, or remove the schedule and save it as a draft.