How to use the Info feature?
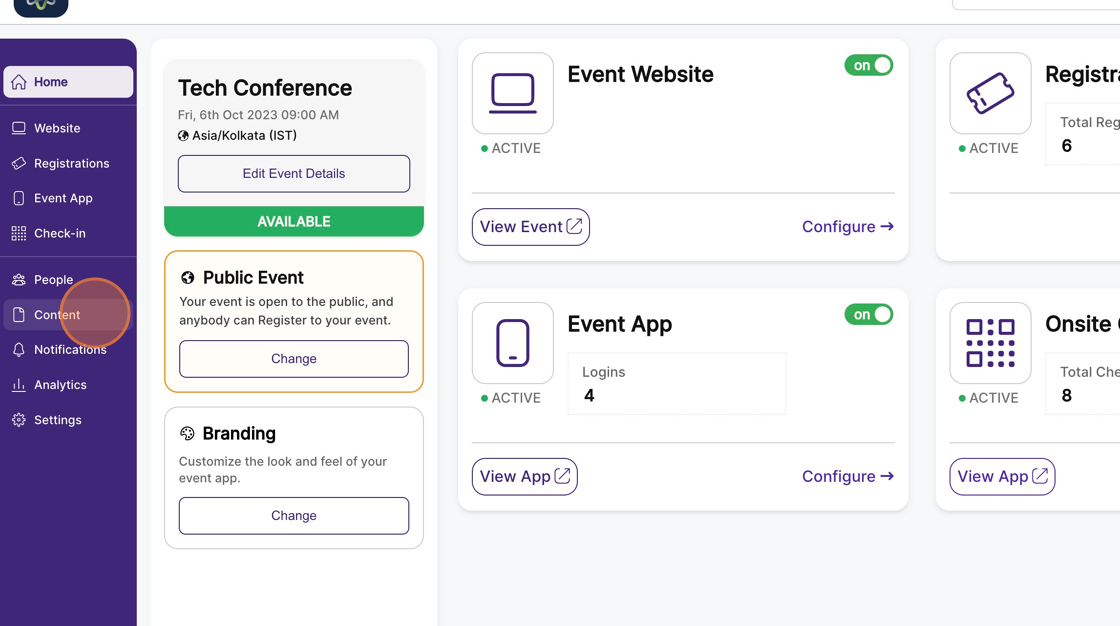
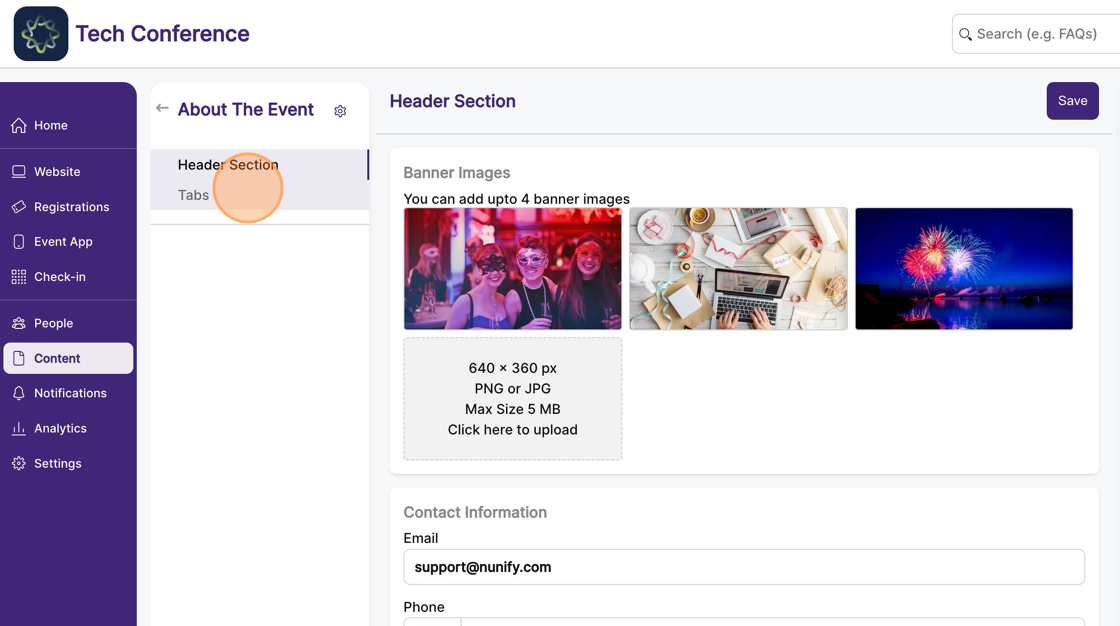
1. In the event dashboard click on "Content" from the side bar.
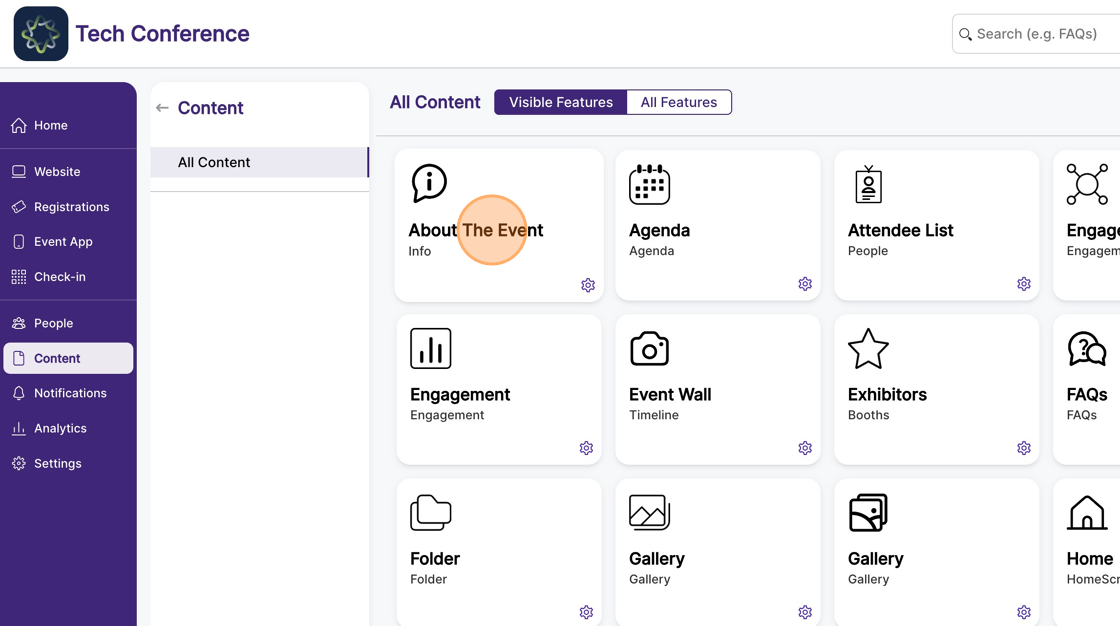
2. Select the "Info" feature page.
3. The Info page has two Sections, Header Section and Tabs.
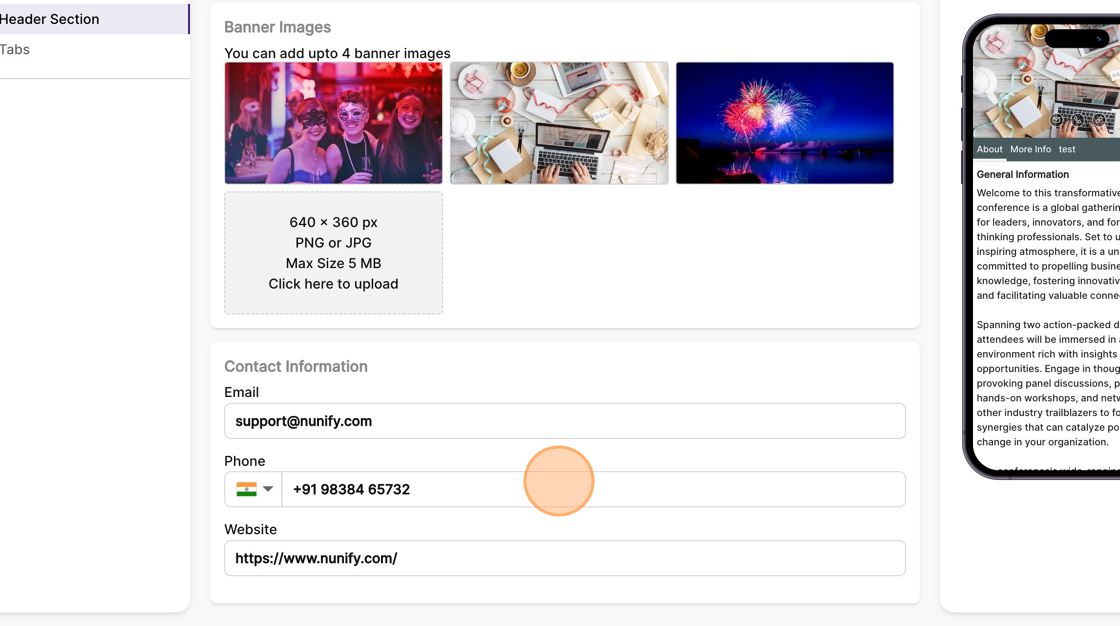
4. In the Header Section, you can add up to four banner images.
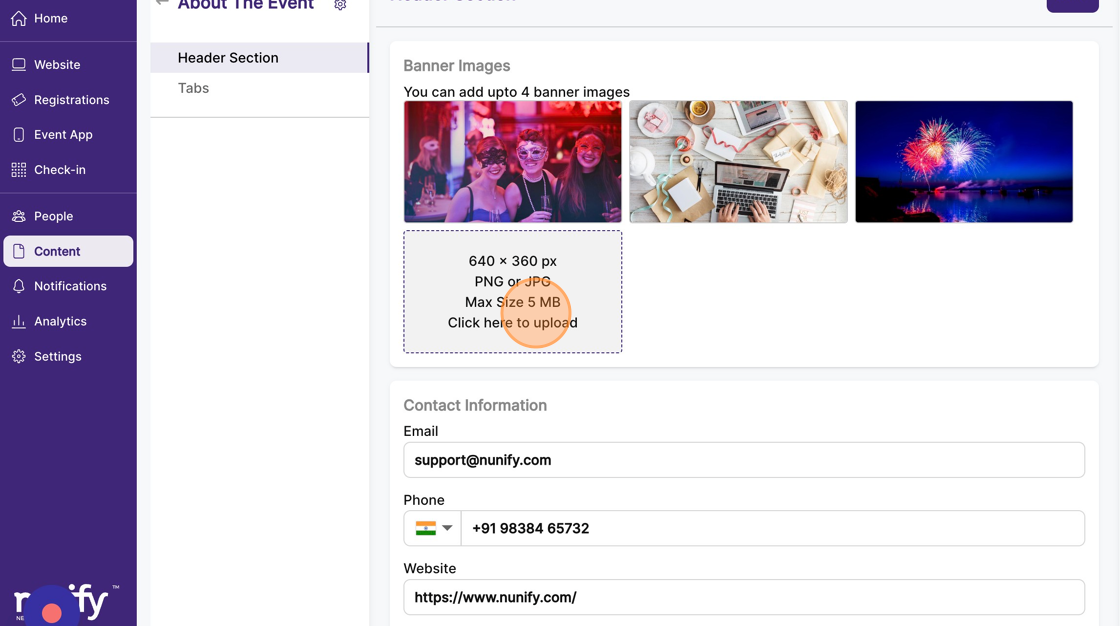
5. You can also enter contact information, including email, phone, and website. All this information will be visible on the header of the info page in your event app.
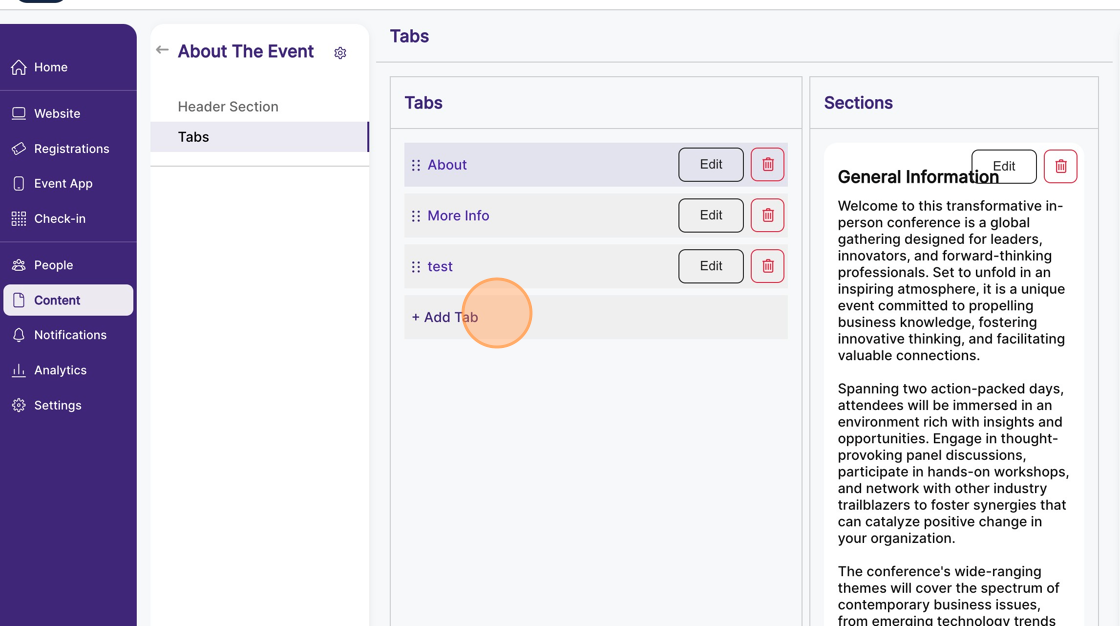
6. In Tabs, you can add multiple Tabs to showcase any information about your event.
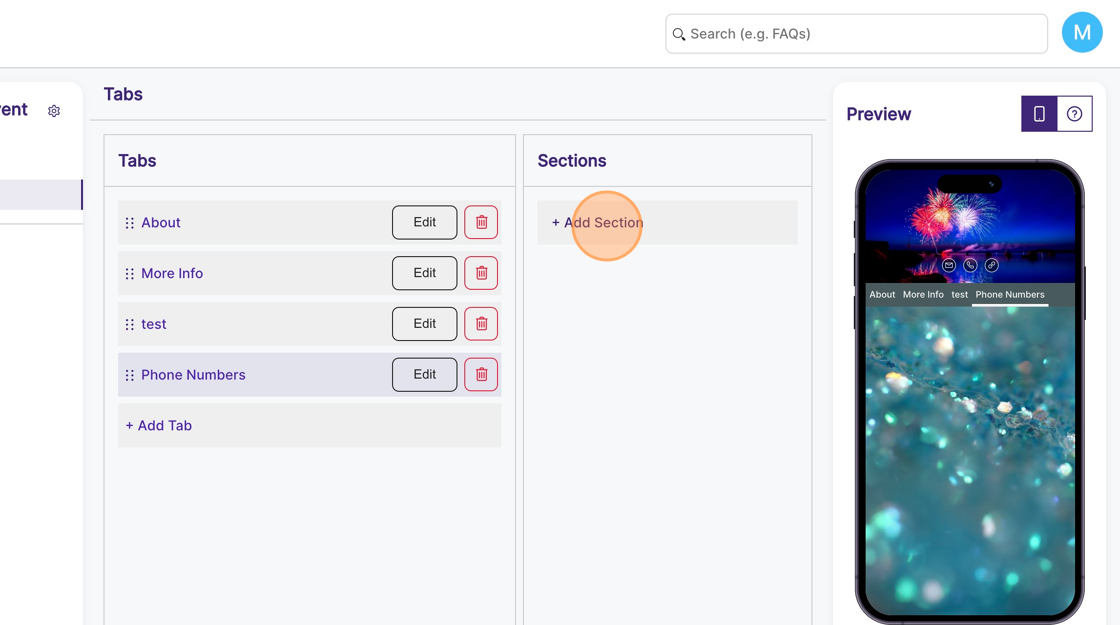
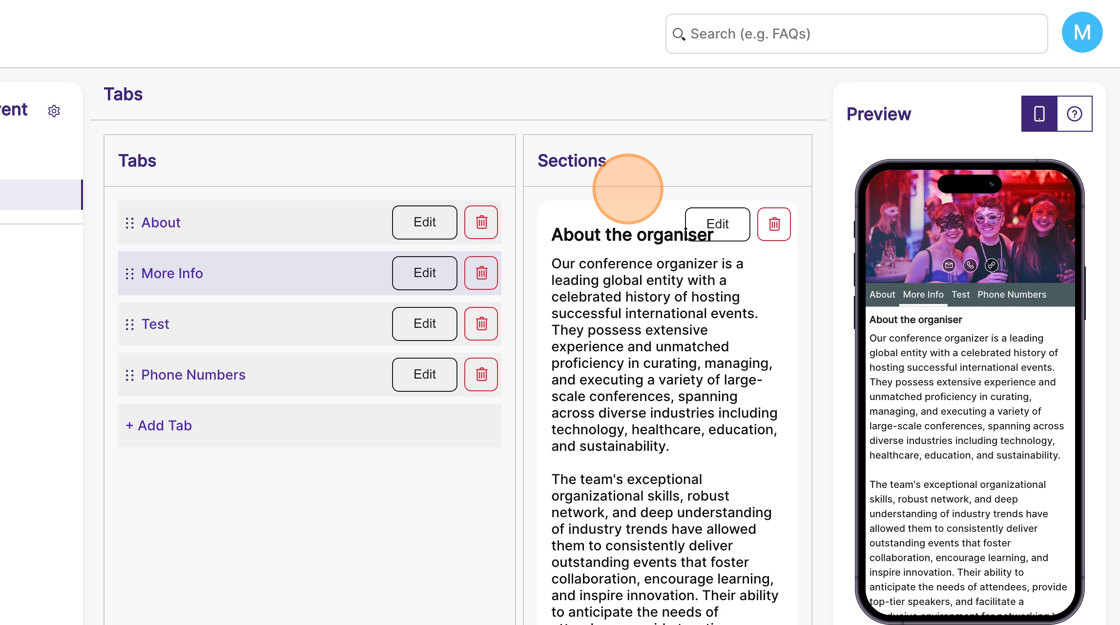
7. There are two columns on the Tabs page, Tabs and Sections.
You can add multiple Tabs to an Info page, and each Tab can have multiple Sections.
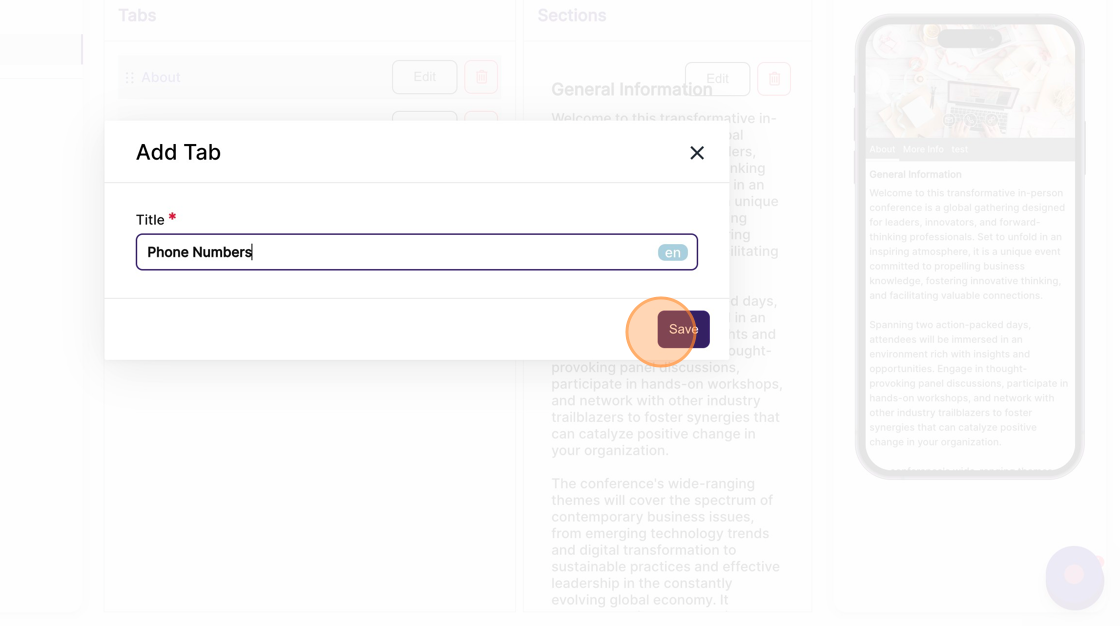
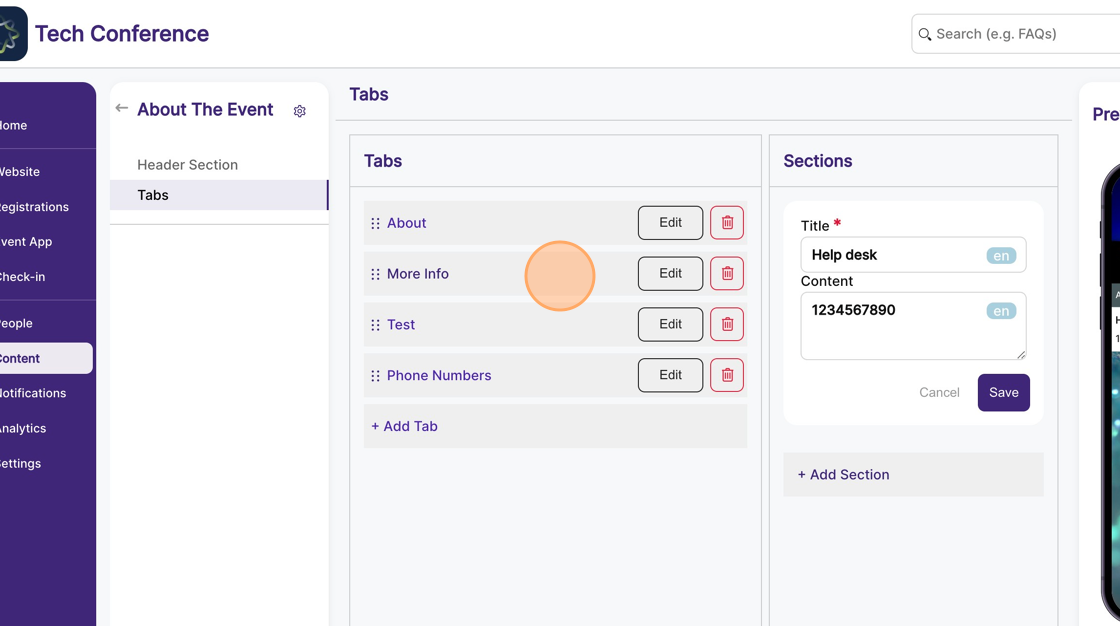
8. To add a New Tab, click on “Add Tab” in the Tabs column.
9. The Tabs modal will open up. Enter the Tab Name and click on “Save”. A new Tab will be created.
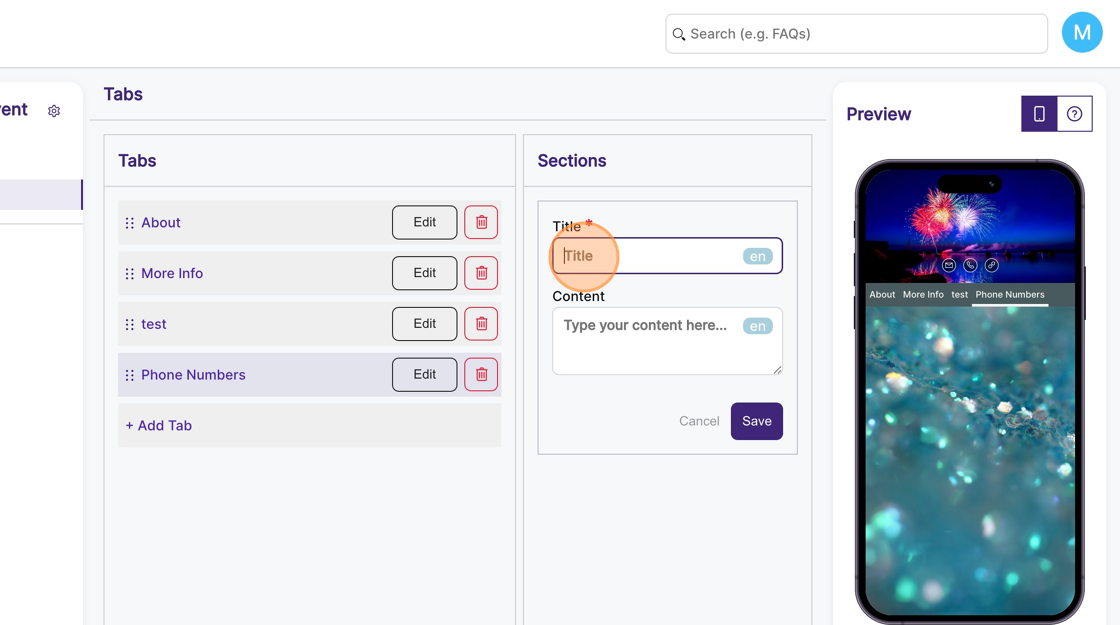
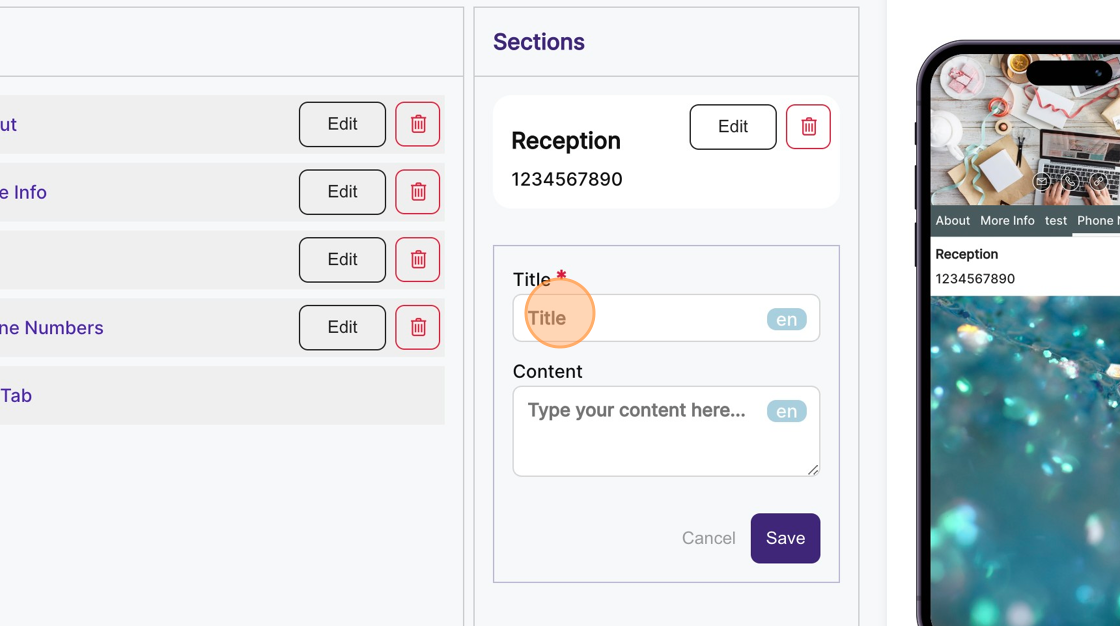
10. To add a new Section to the Tab, click “Add Section” in the Sections column.
11. Each Section has a title and content area.
12. You can add multiple Sections to one Tab.
13. To view the Sections for a Tab, click on the Tab card in the Tabs column.
14. The Section(s) for that particular Tab will appear in the Sections column.
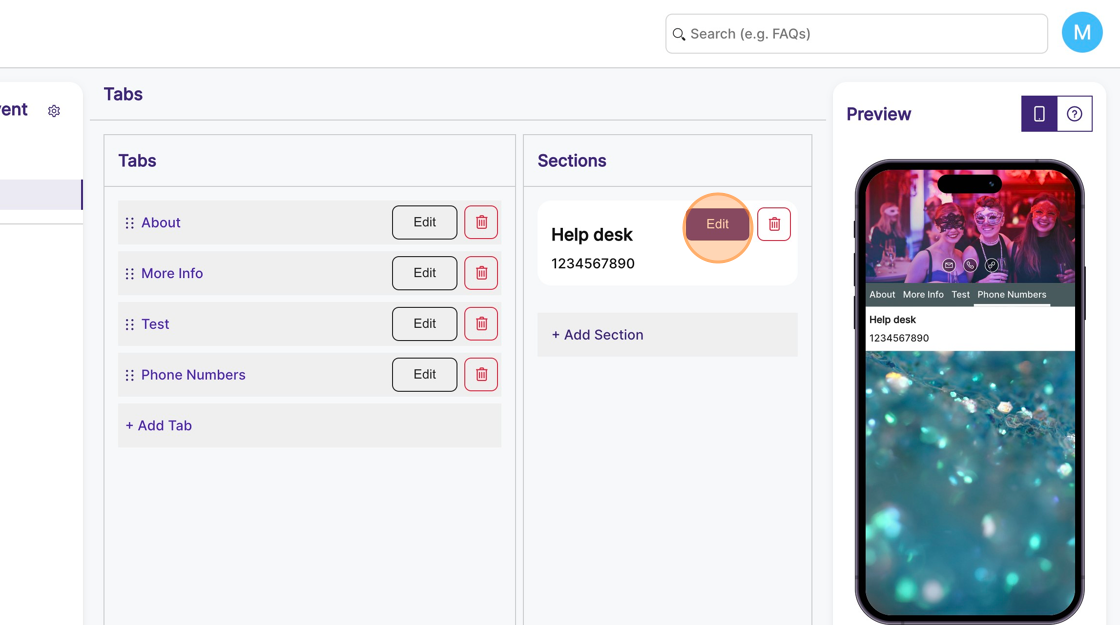
15. To edit a Section in a Tab, click on the Tab card for which you want to edit the Section, and click on the edit icon in the Section card.
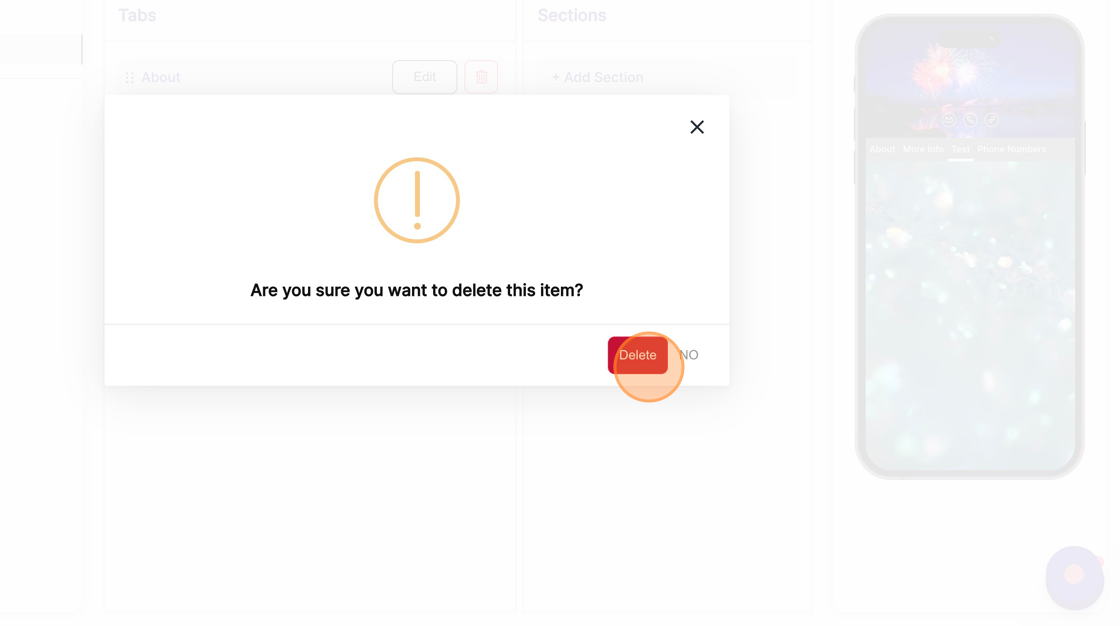
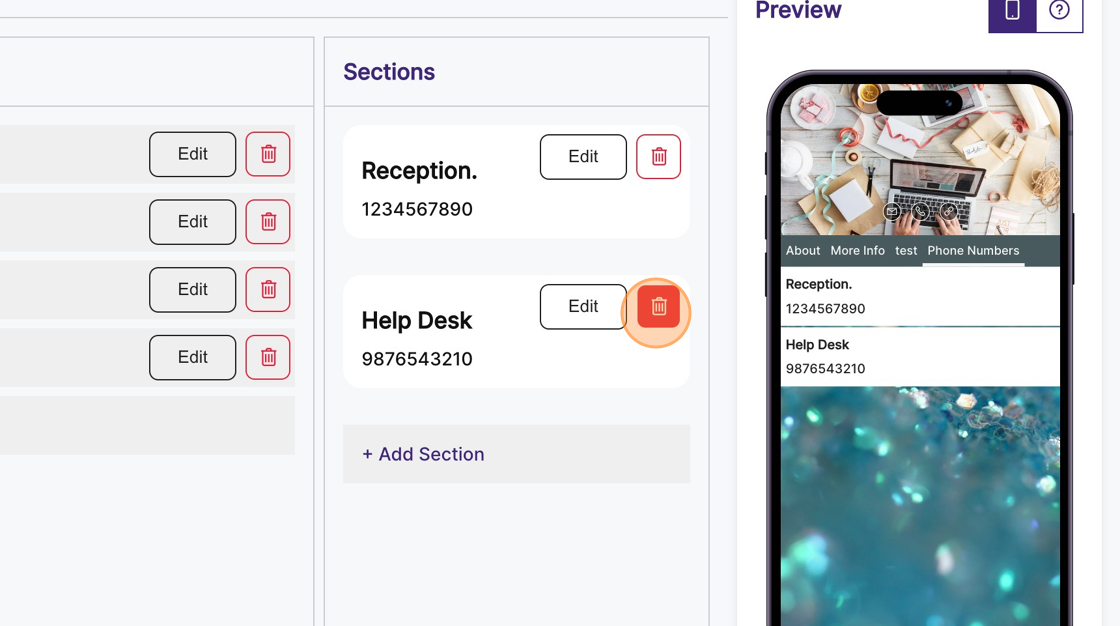
16. To delete a Section in a Tab, click on the Tab card for which you want to delete the Section, and click on the delete icon in the Section card. On confirmation, click on “Delete” to delete the Section.
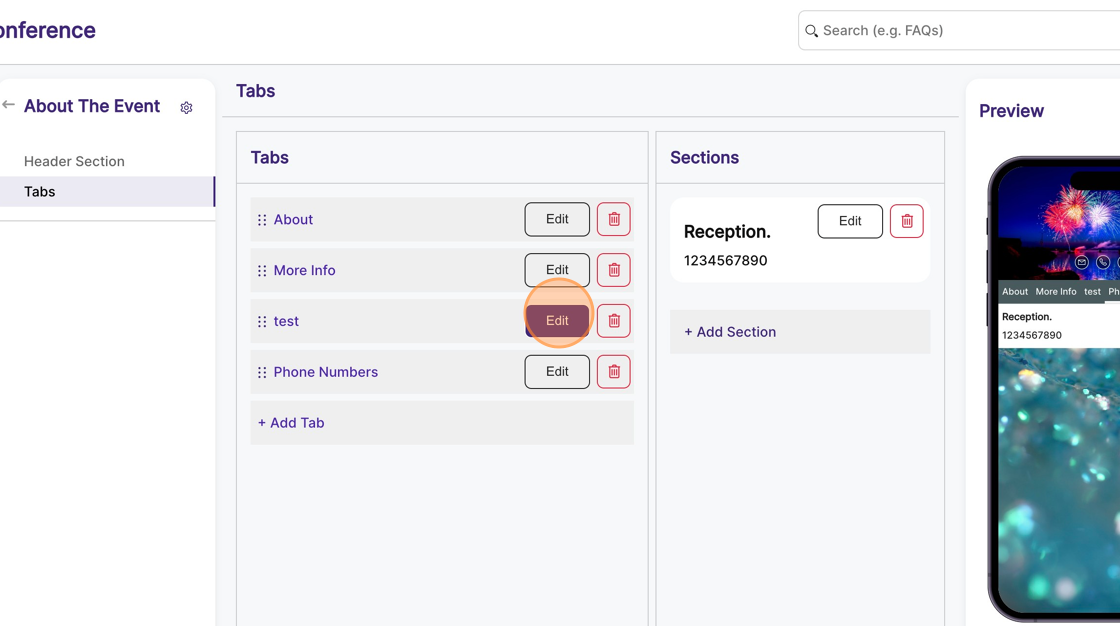
17. To edit a Tab, find the Tab in the Tabs column and click on the edit icon on the Tab card.
18. To delete a Tab, find the Tab in the Tabs column and click on the delete icon on the Tab card.
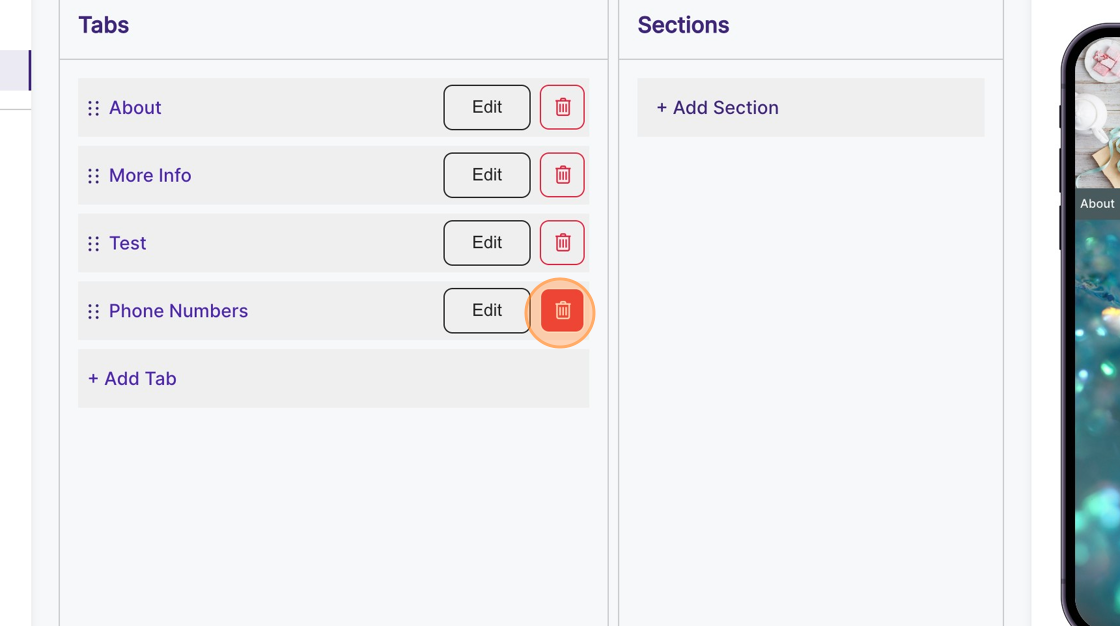
19. On confirmation, click “Delete” to delete the Tab. All the Sections associated with the Tab will also be deleted.