How to bulk import attendees to an event?
1. You can add multiple attendees to your event at once by importing an excel sheet with user details.
2. Click on “People” in the top bar. This will open the people page.
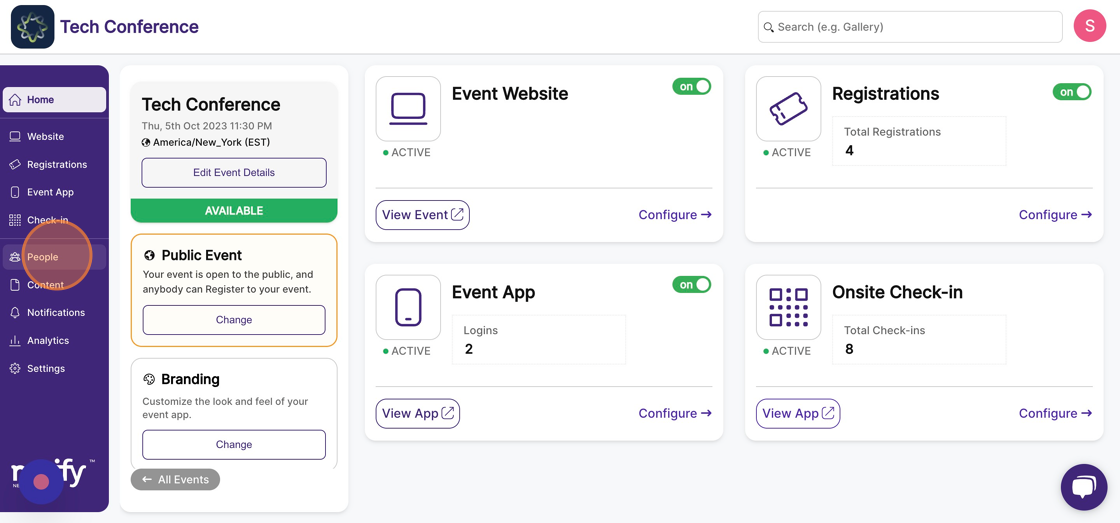
3. On the people page, click on “Import Users” on the top toolbar. This will open the user import page.

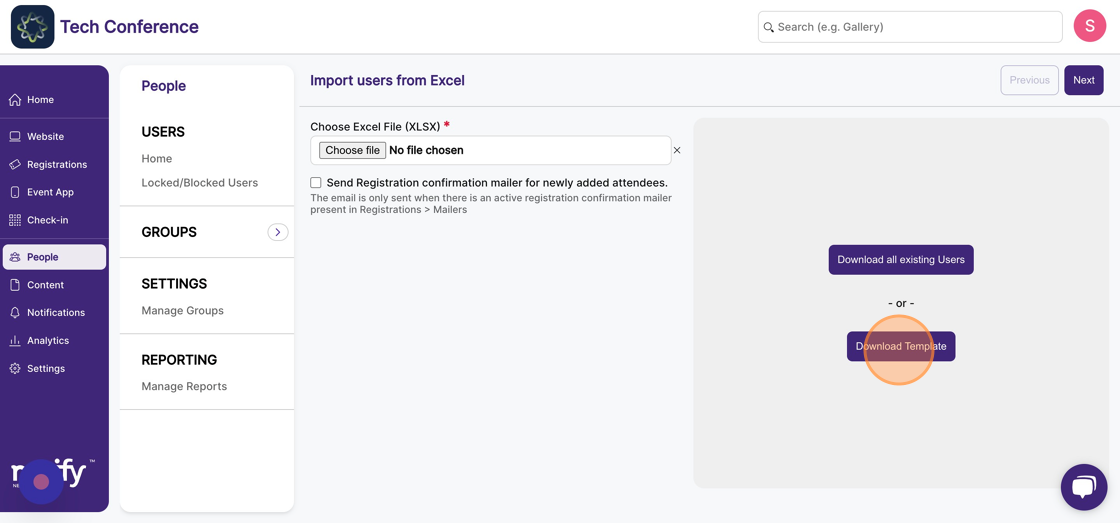
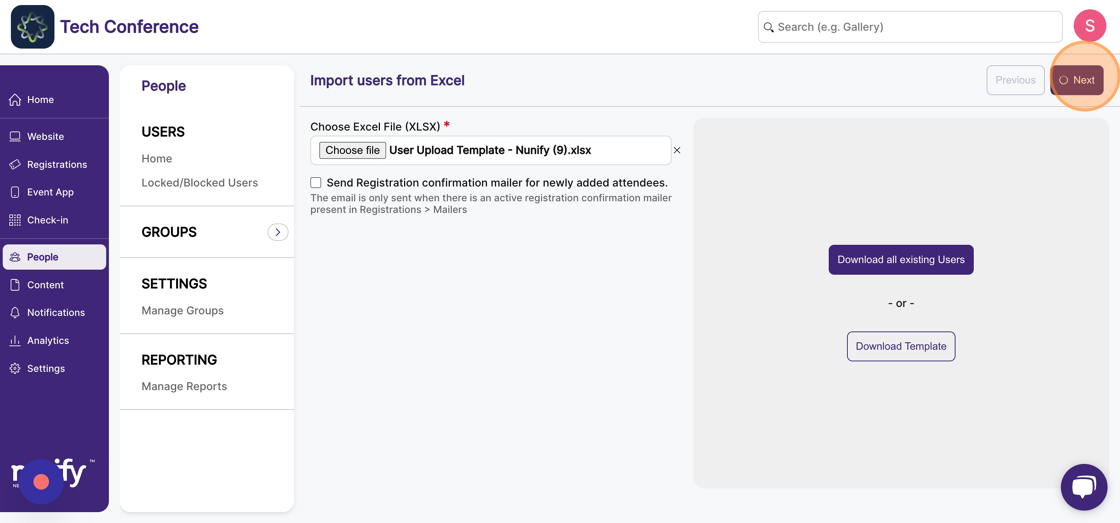
4. On the file upload page, click on “Download Template” on the right to download the template in which you can fill up the details of the users.
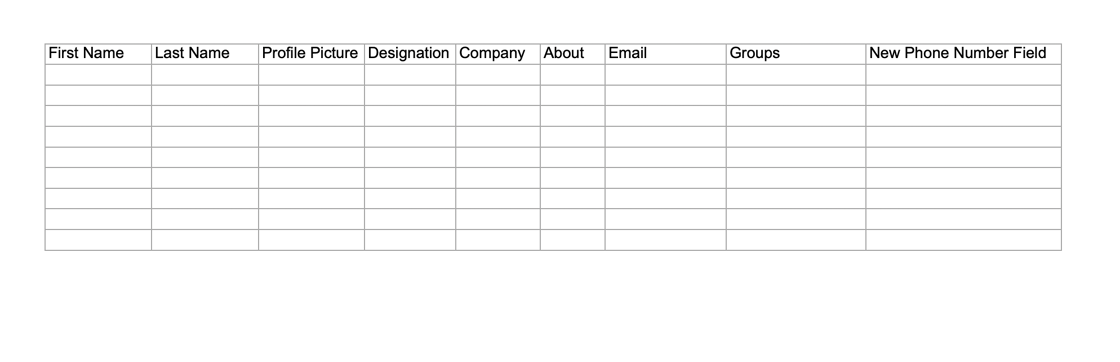
5. Once downloaded, fill the Excel sheet with all the users’ details. Note that errors will be shown on the summary page if mandatory columns aren’t filled. Mandatory columns for including a user are - First name and Email.
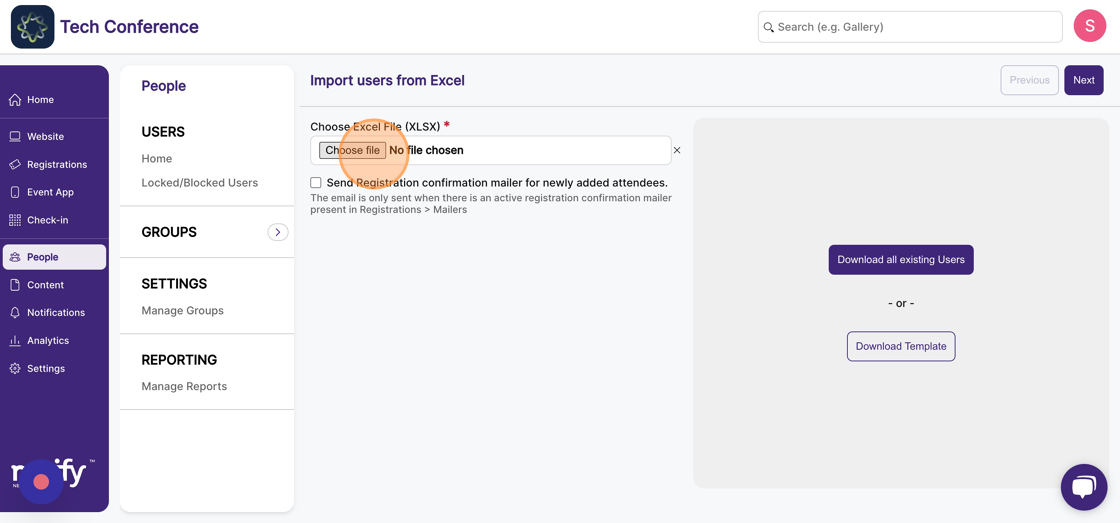
6. Once the users’ details are filled in the excel sheet, click on “Choose File” and upload the filled excel sheet.
7. Editing existing users:
On the file upload page, click on “Download all existing Users” on the right to download the excel sheet with all the information filled about the existing users
Edit the details of desired users. The system identifies the user based on the email address of the user.
Once the users’ details are updated in the excel sheet, click on “Choose File” and upload the filled excel sheet.
8. Mapping columns of the excel sheet to the appropriate field:
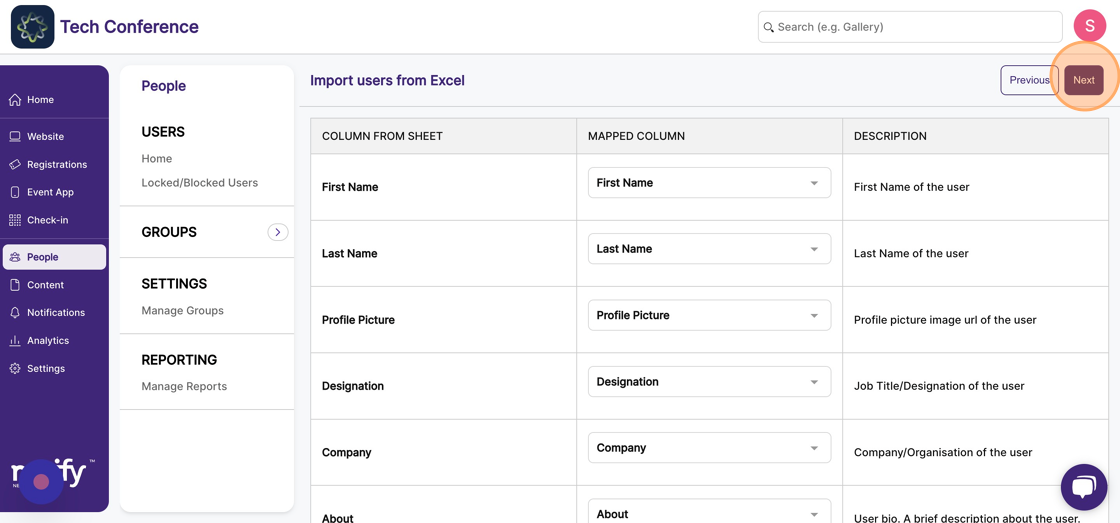
Once the filled excel sheet is uploaded, click on “Next”. This will open up the column mapping page. On this page, you can accurately match the excel sheet columns to the appropriate fields present in the user form.
If a column mapping is highlighted in cream, it means that the system had tried to match the column to the closest appropriate field.
If a column mapping is highlighted in grey, it means that the system couldn’t identify the closest appropriate field for a column and the column is automatically ignored and will not reflect on any user’s information.
To match a column to the appropriate field manually, click on the dropdown under “Mapped Column” and choose the desired field.
9. Click "Next"
10. Once the column mapping is done accurately, click on “Next”. This will open the summary page.
11. The summary page will contain all the details regarding your import which include users that are being added, users that are being updated, users that are being deleted, etc.
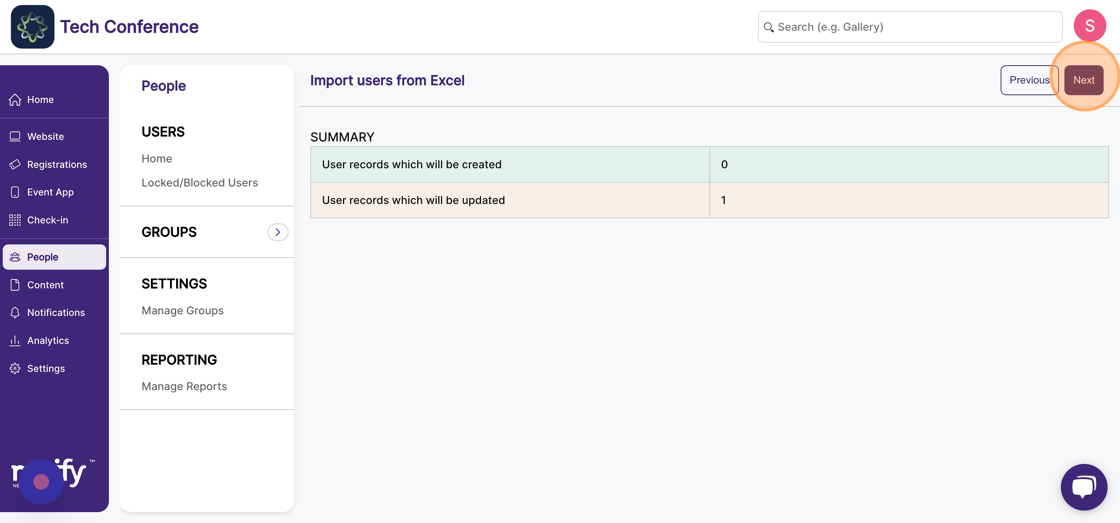
12. Make sure the summary is as expected and click “Next”. The import is now successfully done and updated information on users will reflect on the “People” page.